Ryan Ranch
Monterey, California
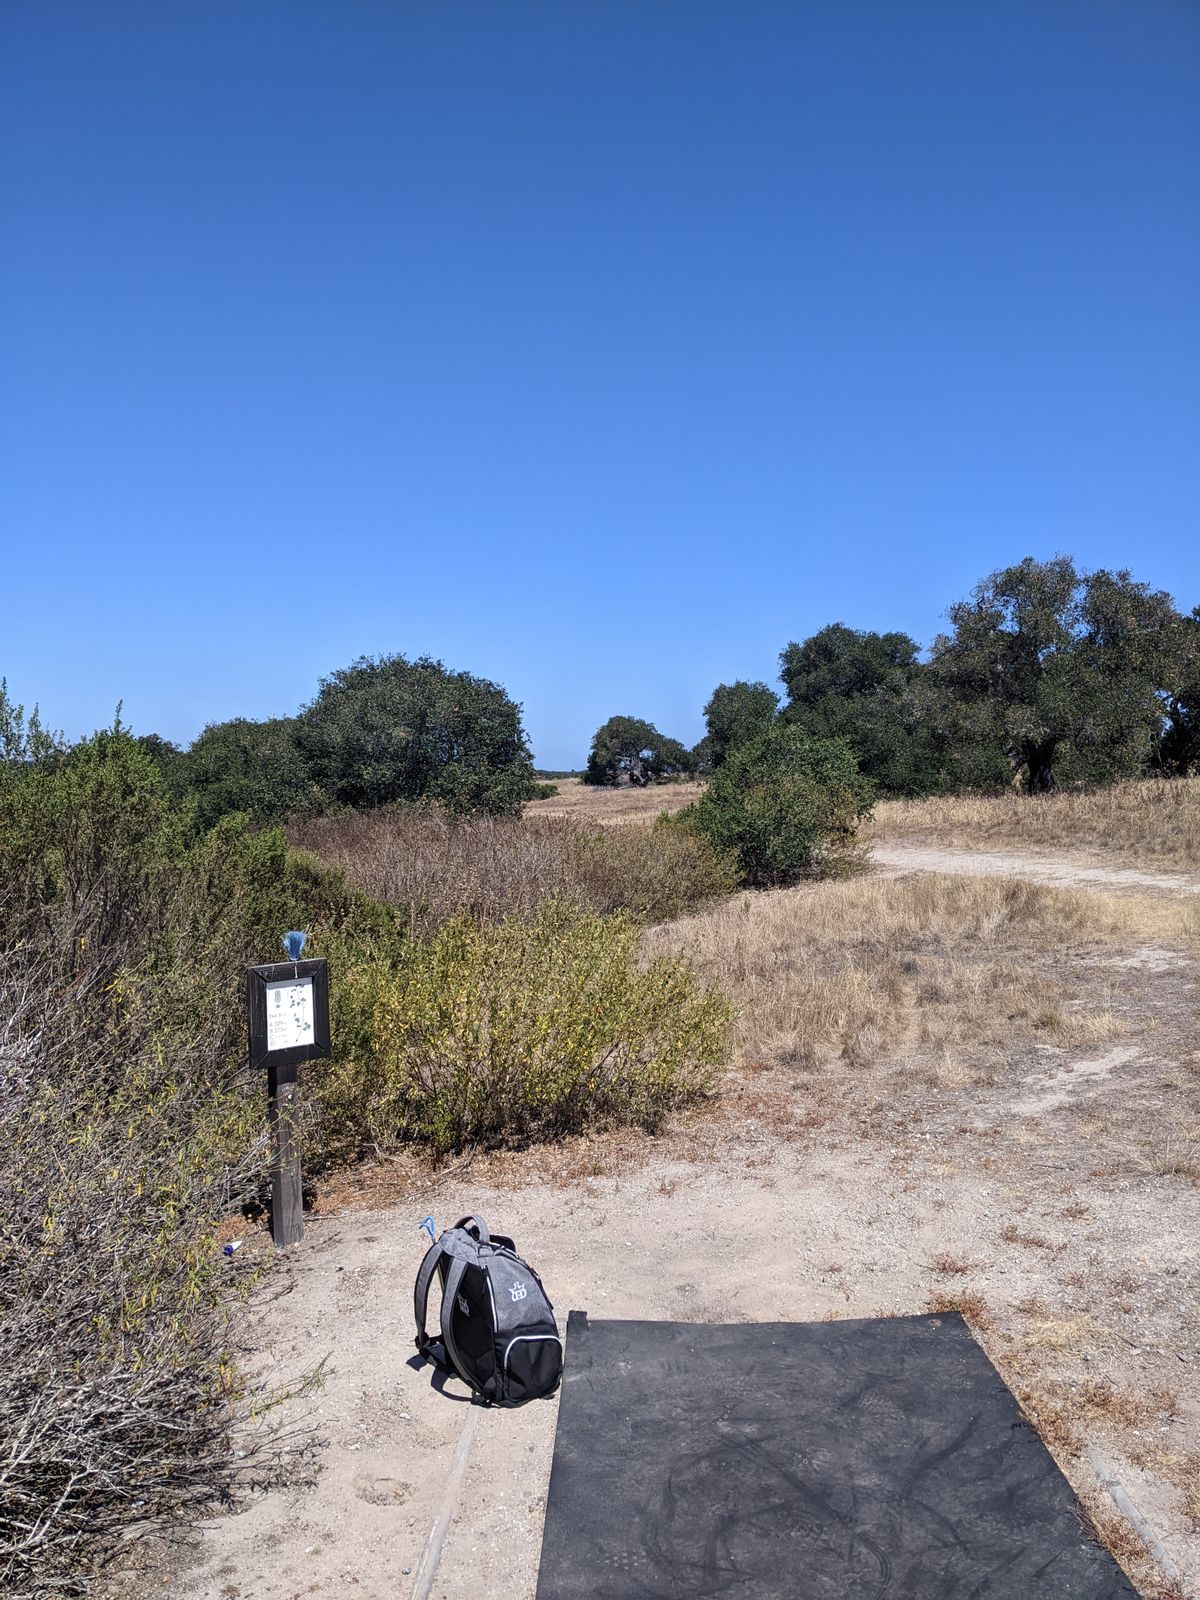
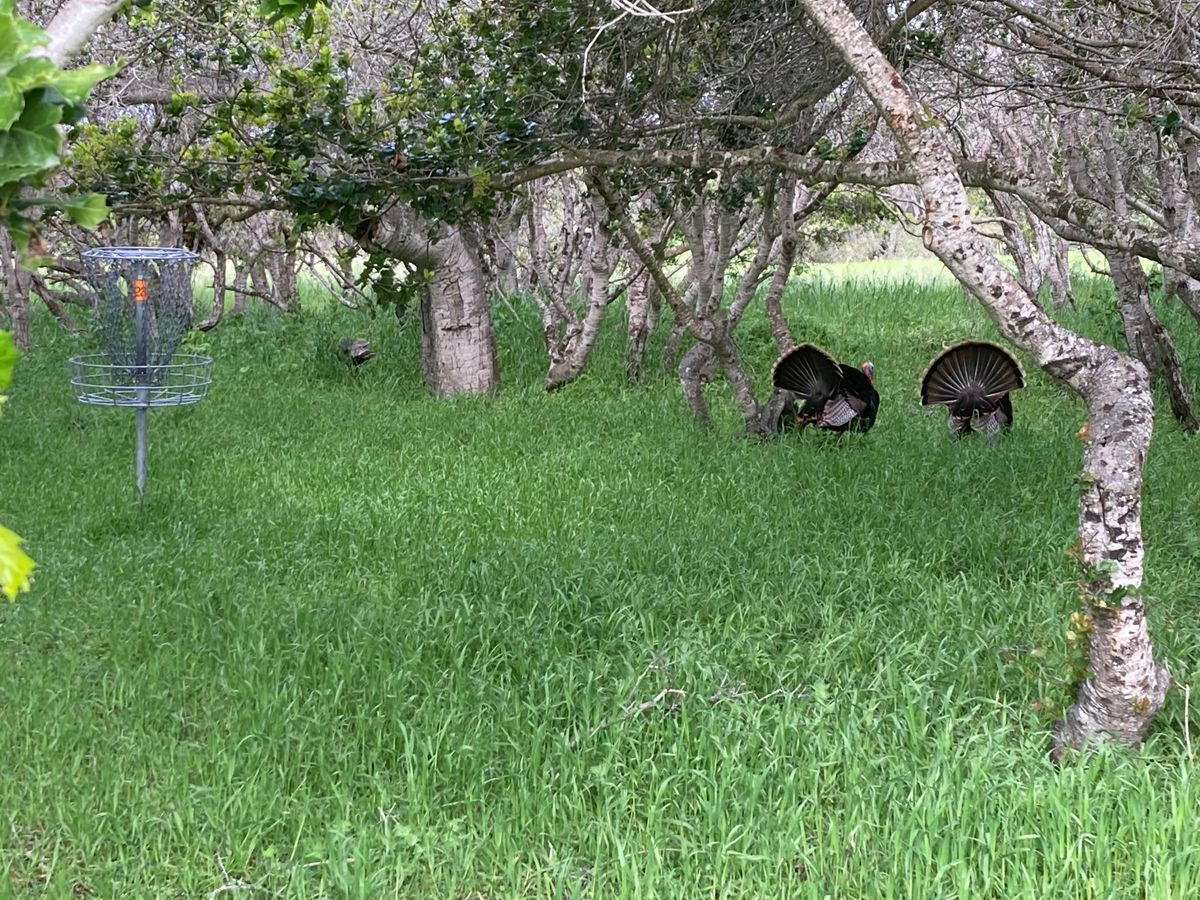
70 Photos
Add photos

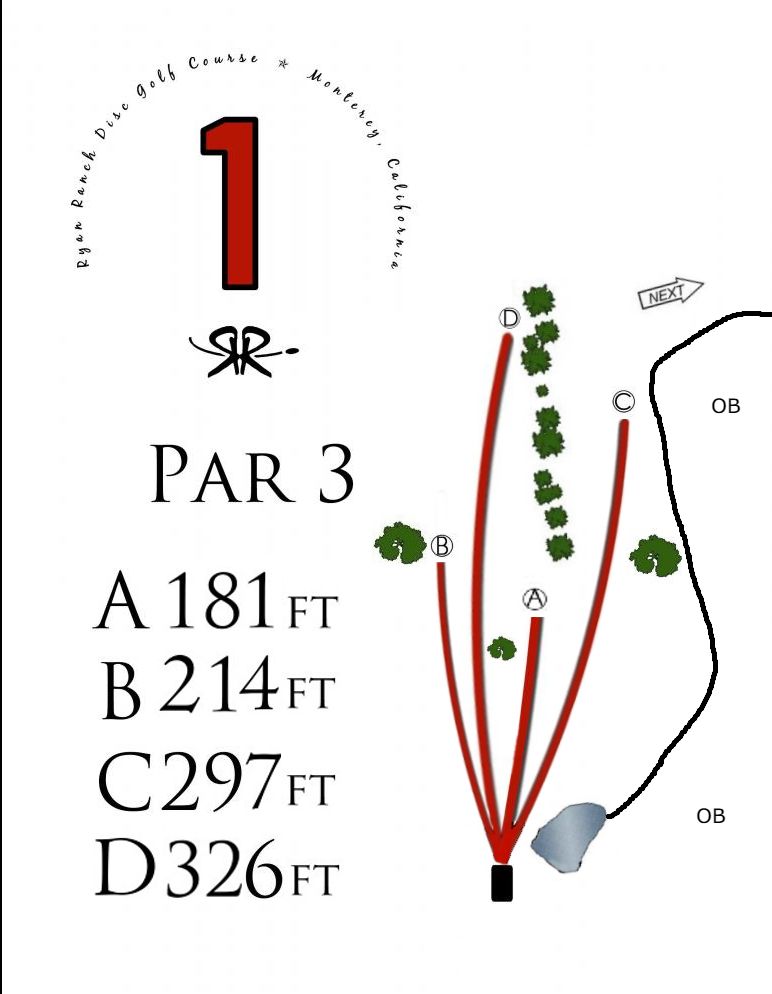
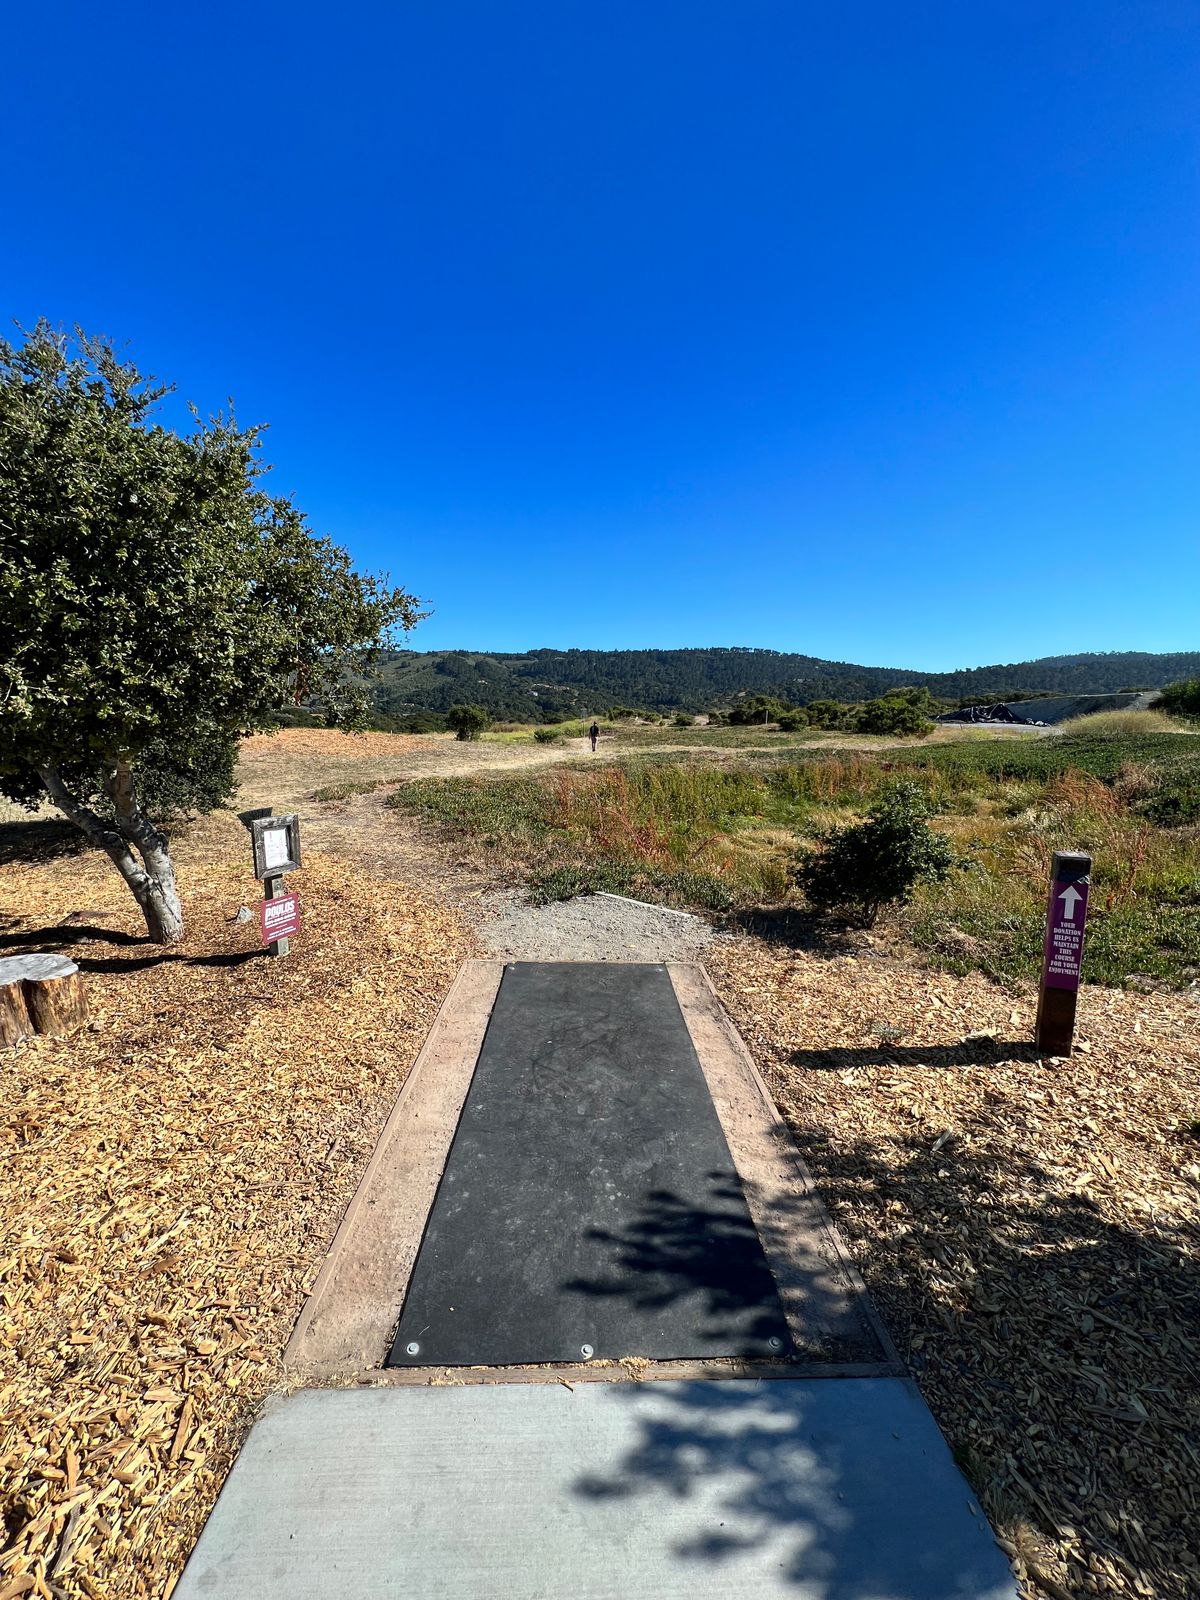
Hole 1

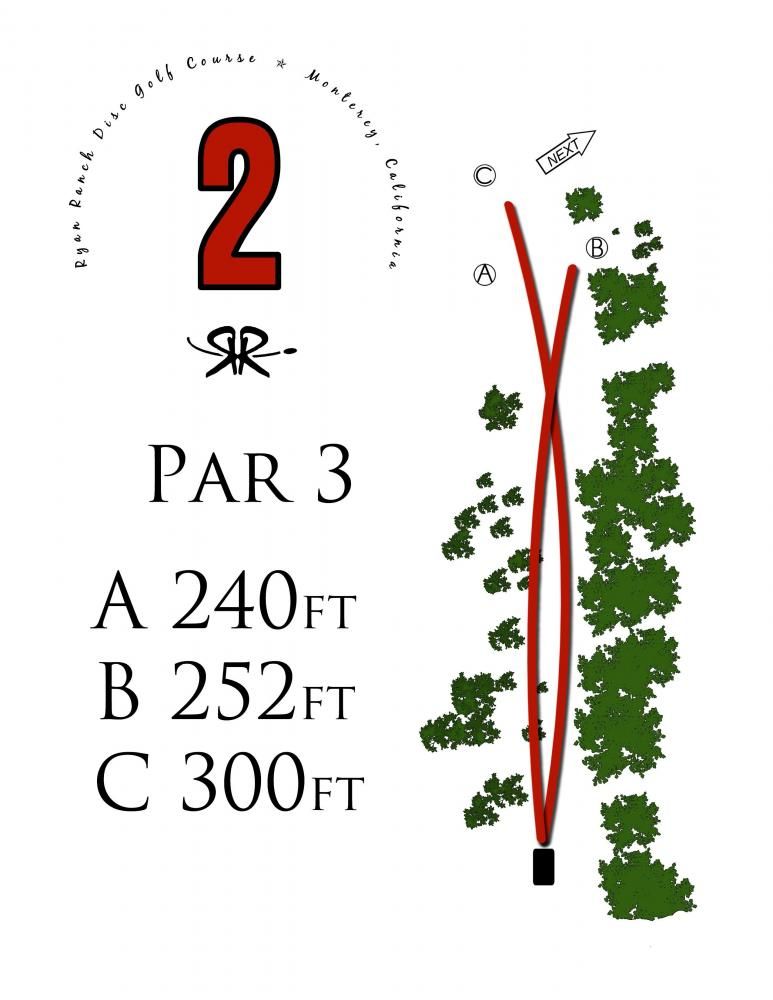
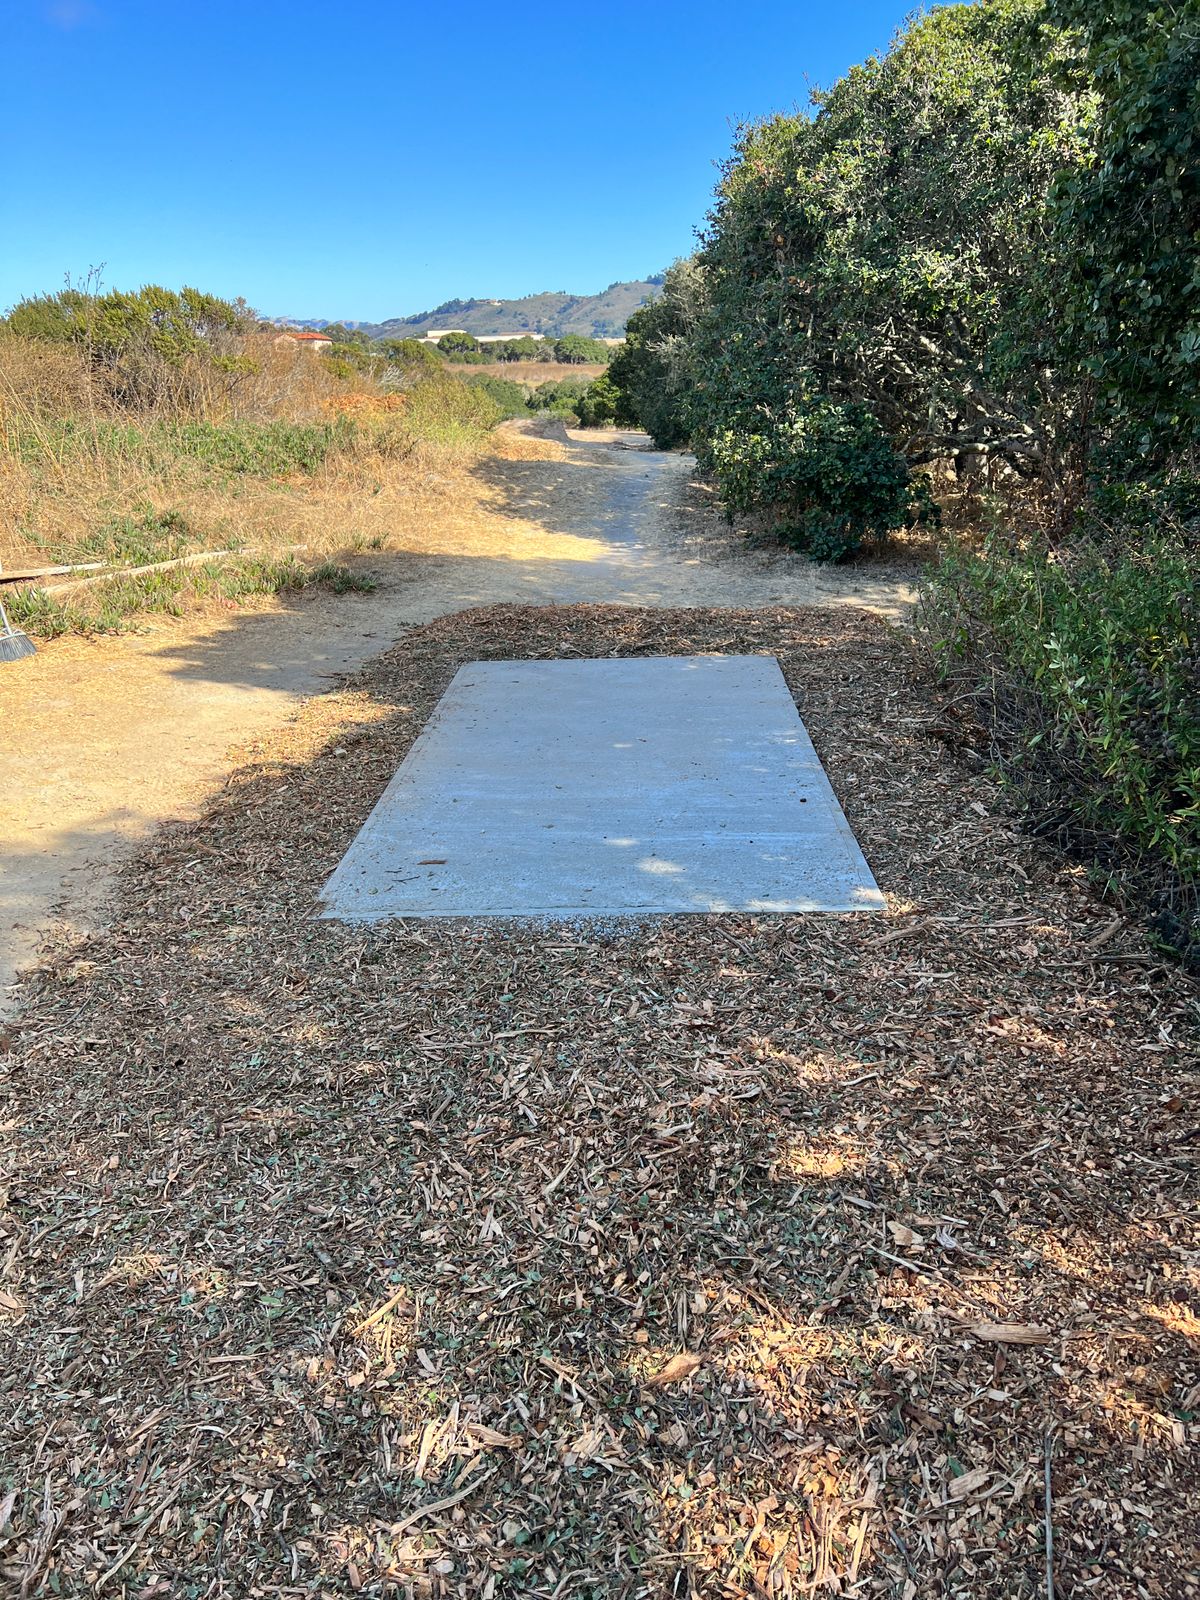
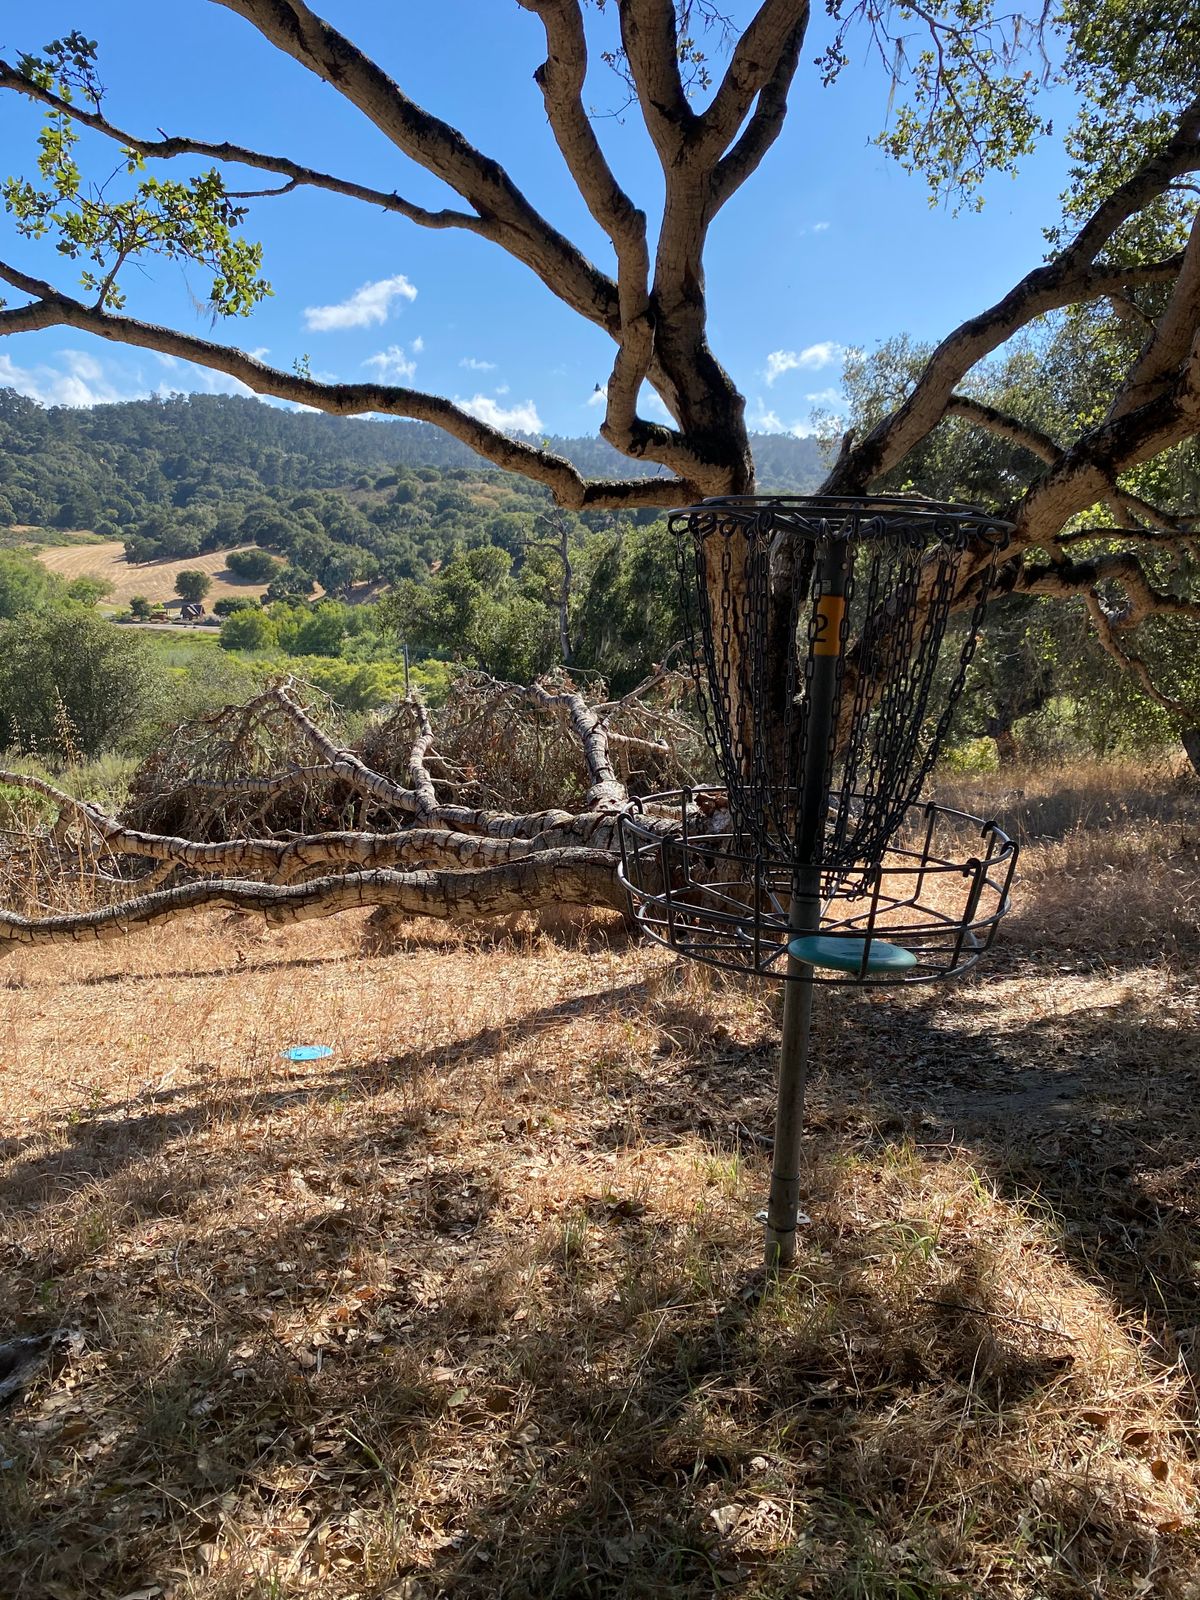
Hole 2
Hole 3


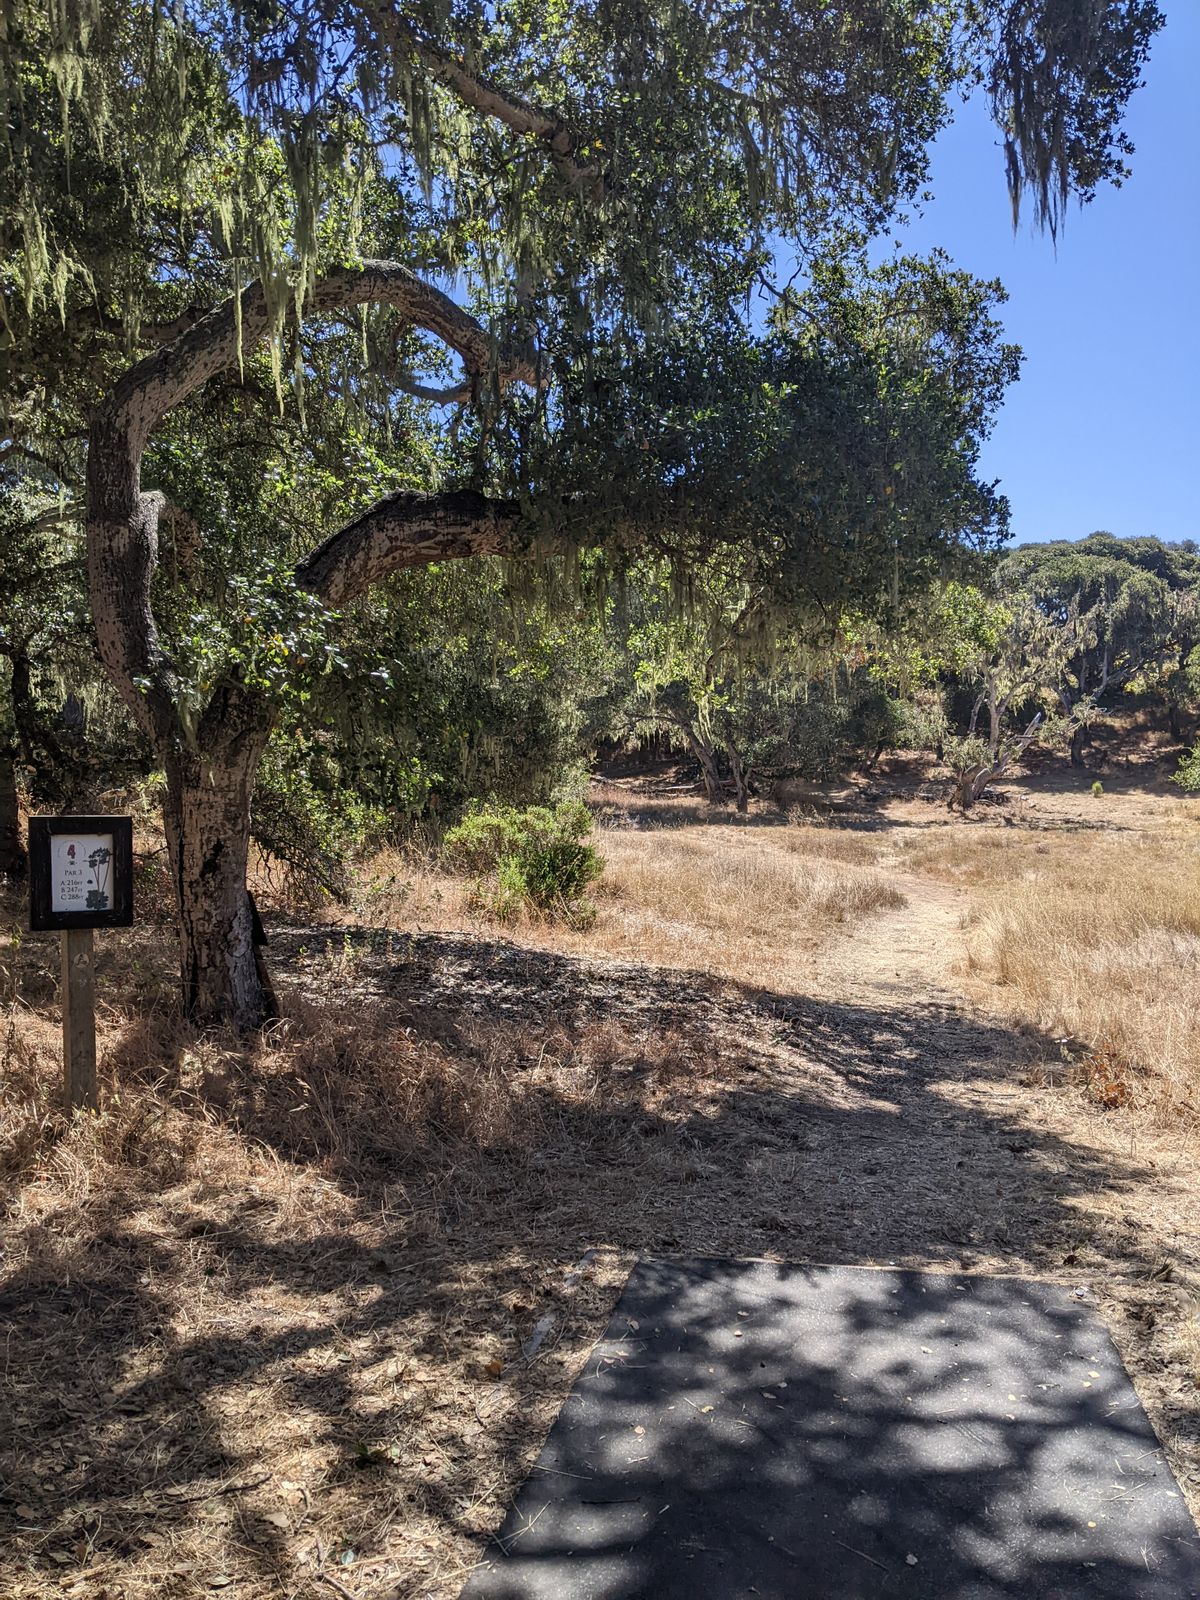
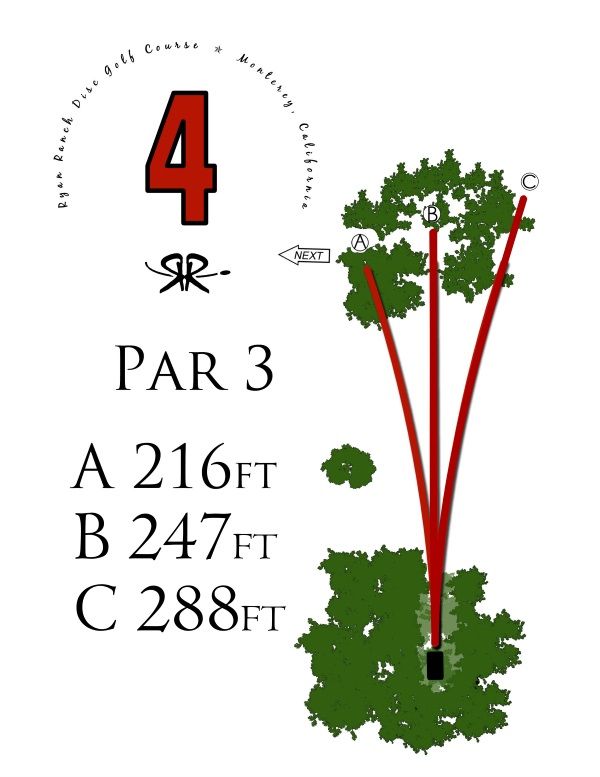
Hole 4
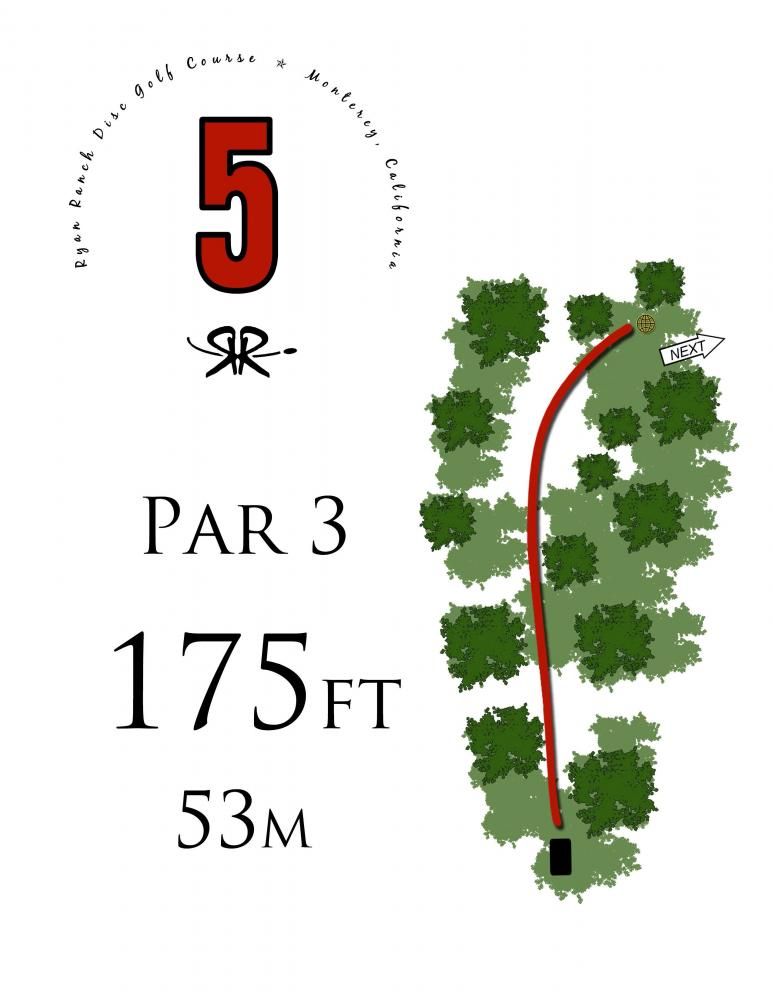
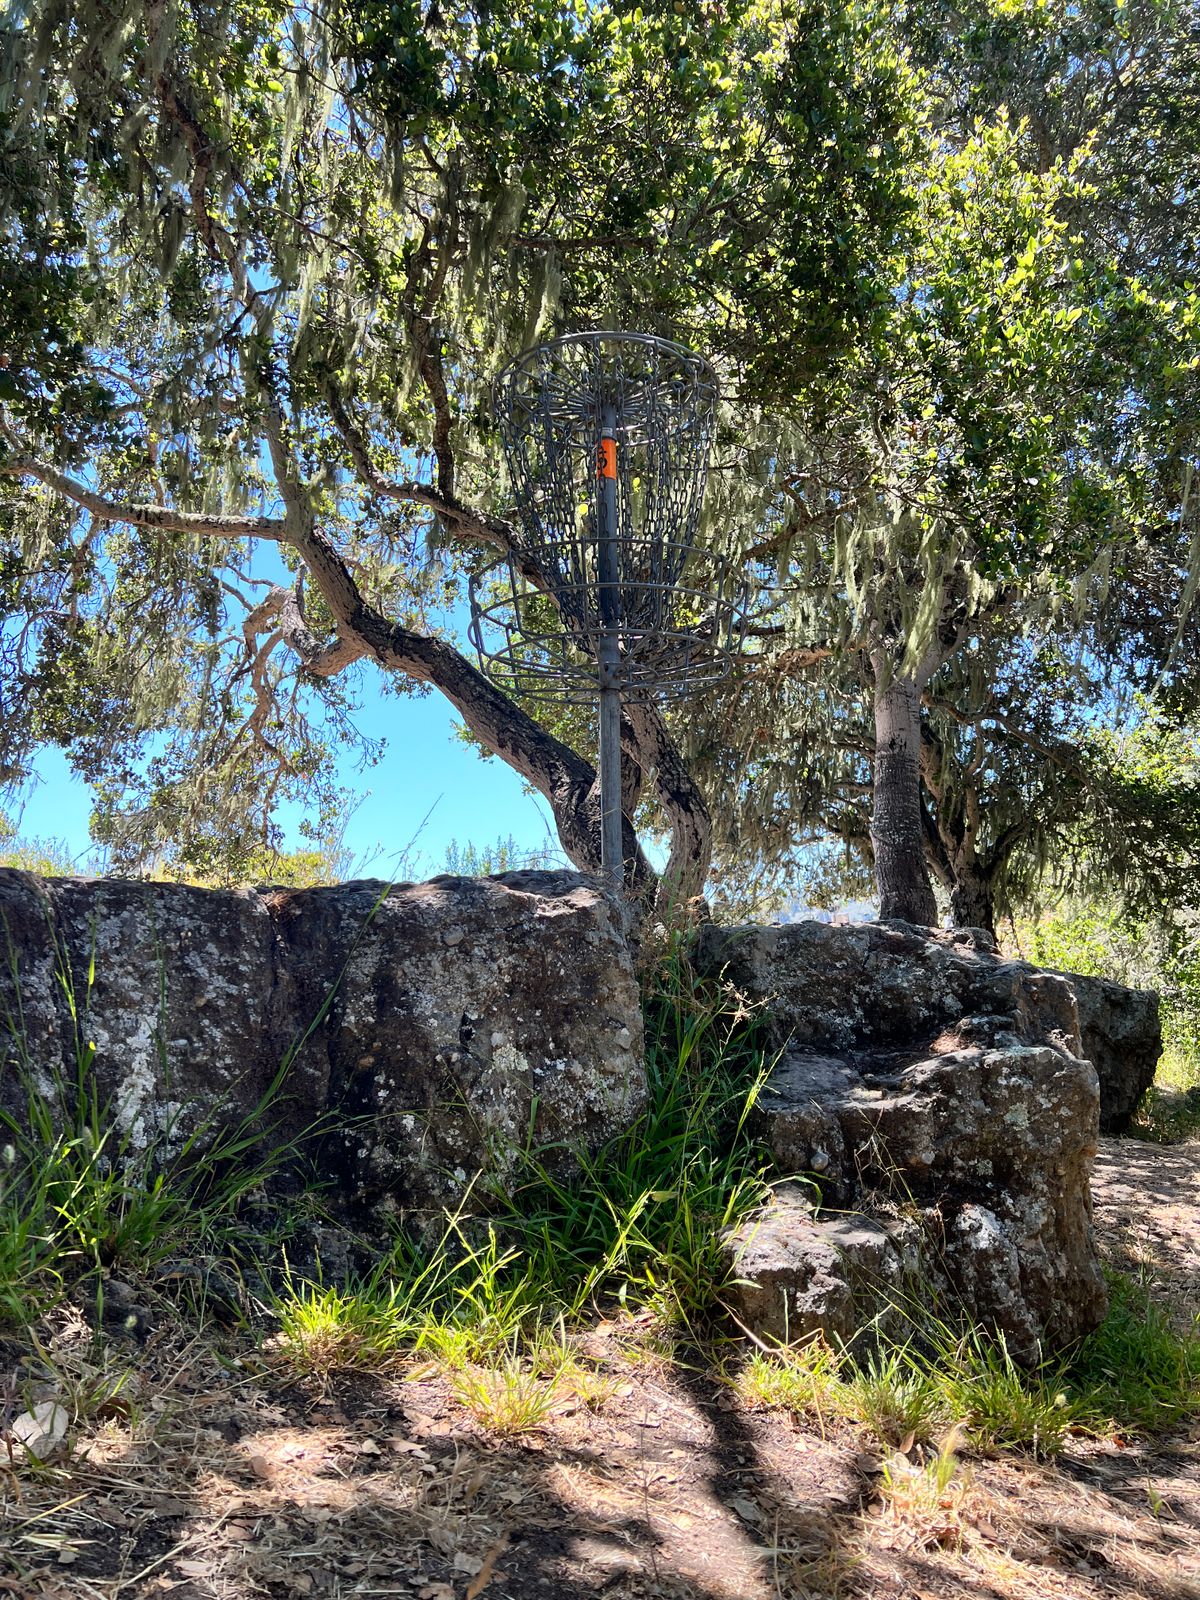
Hole 5

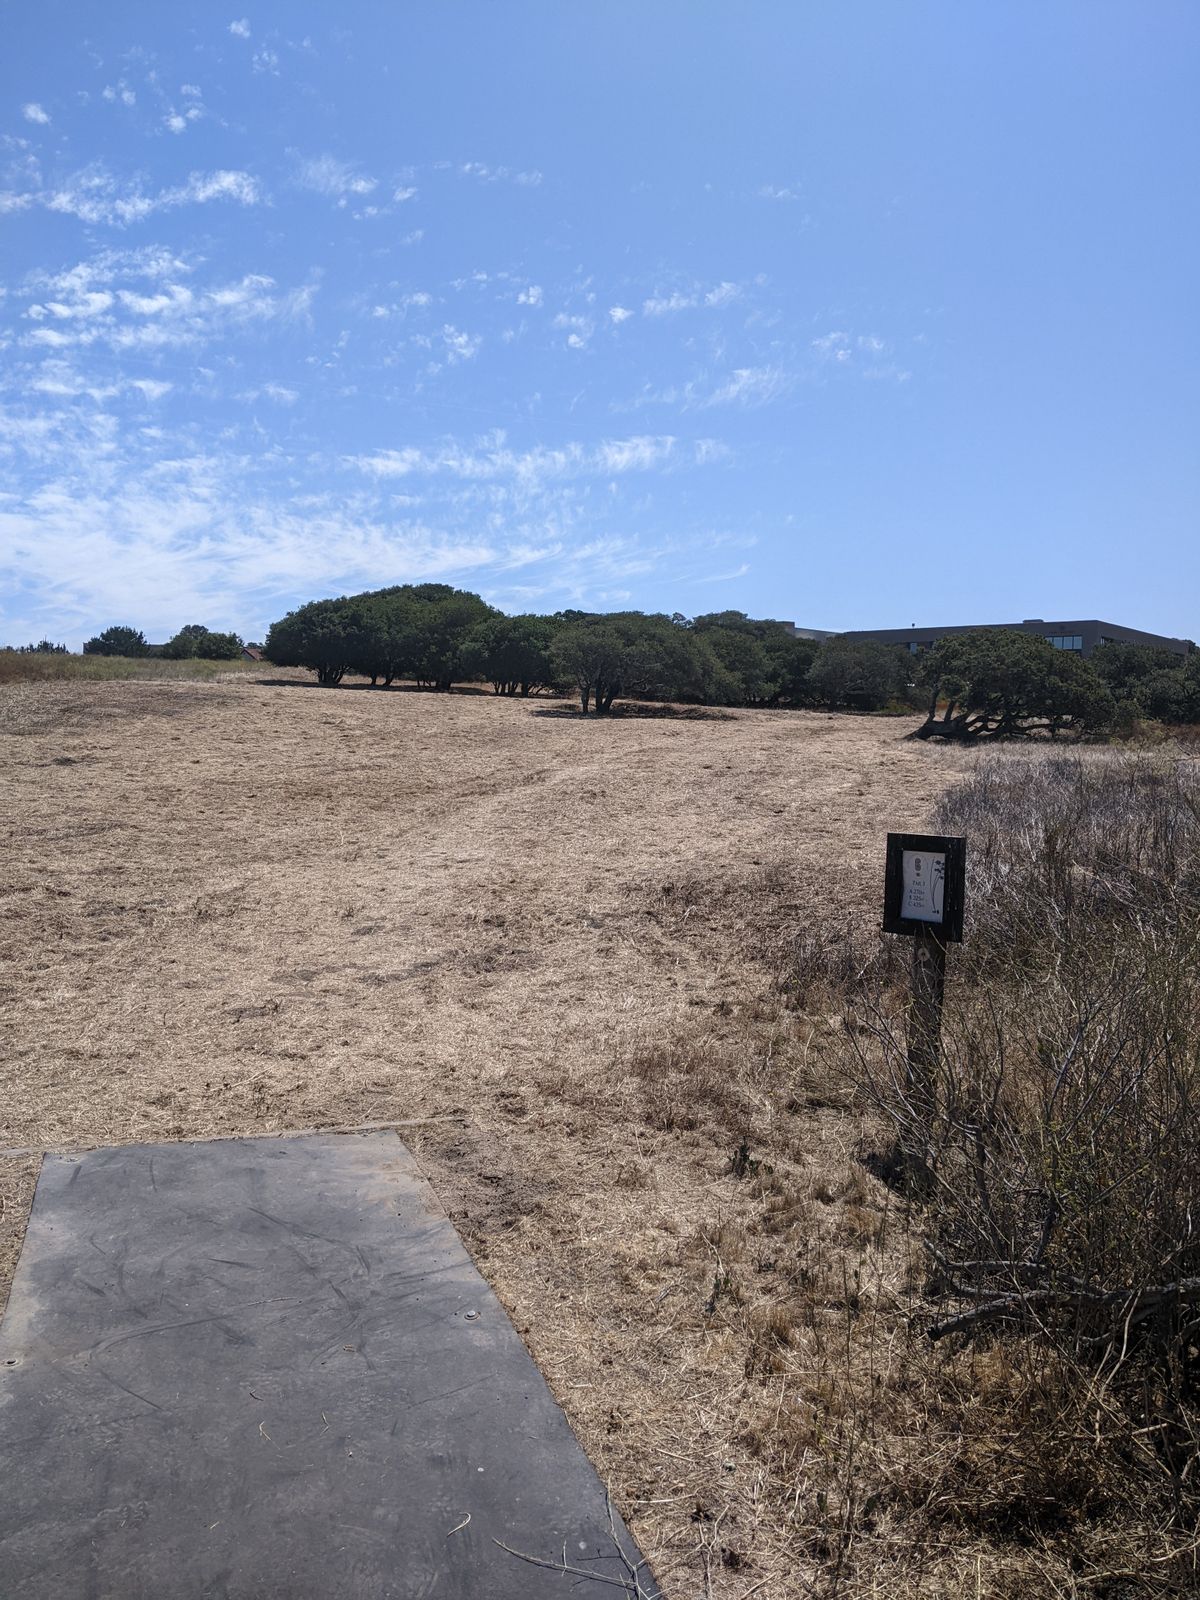
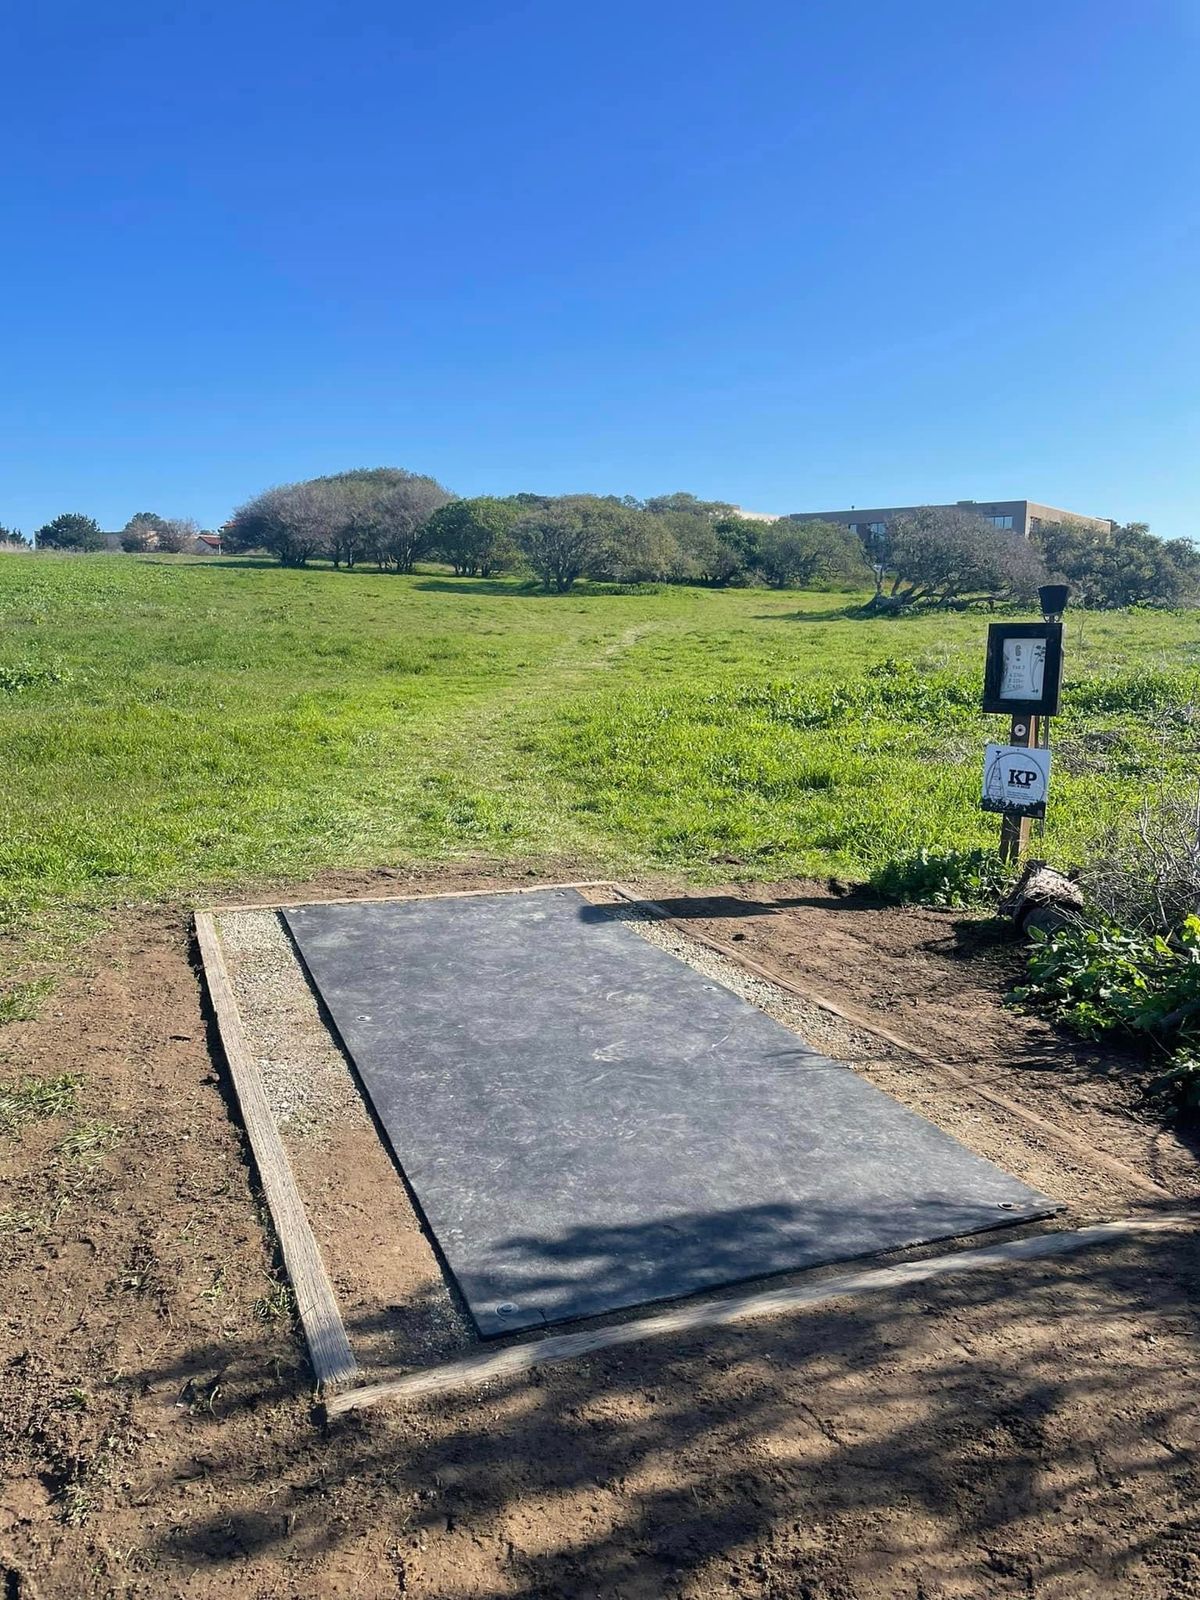
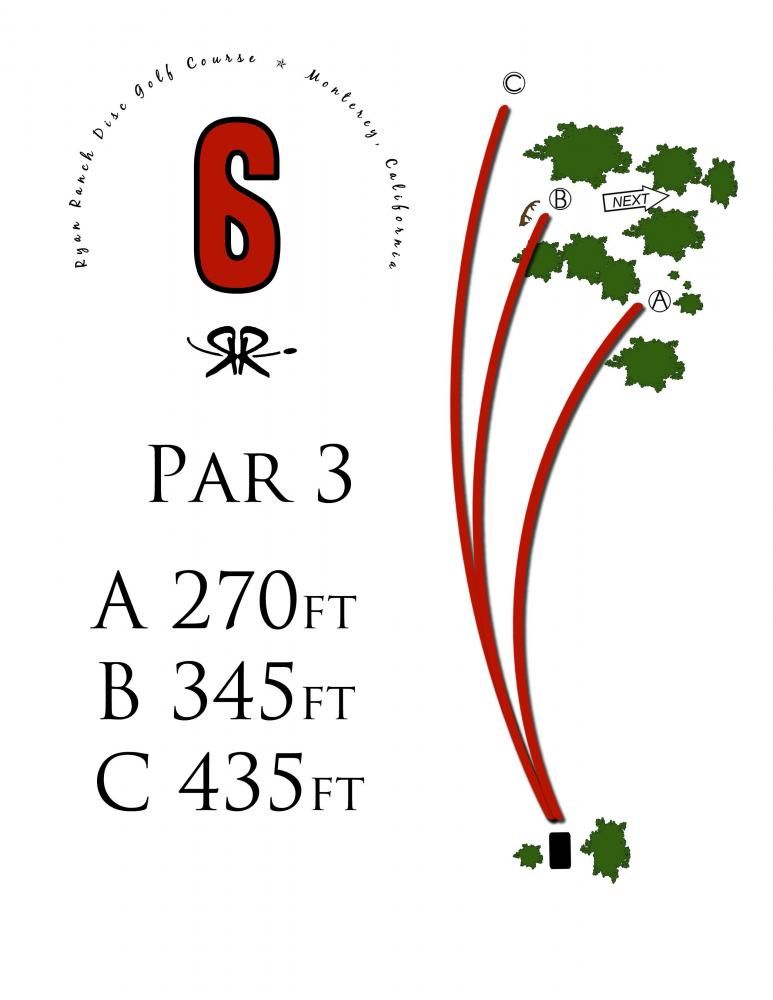
Hole 6
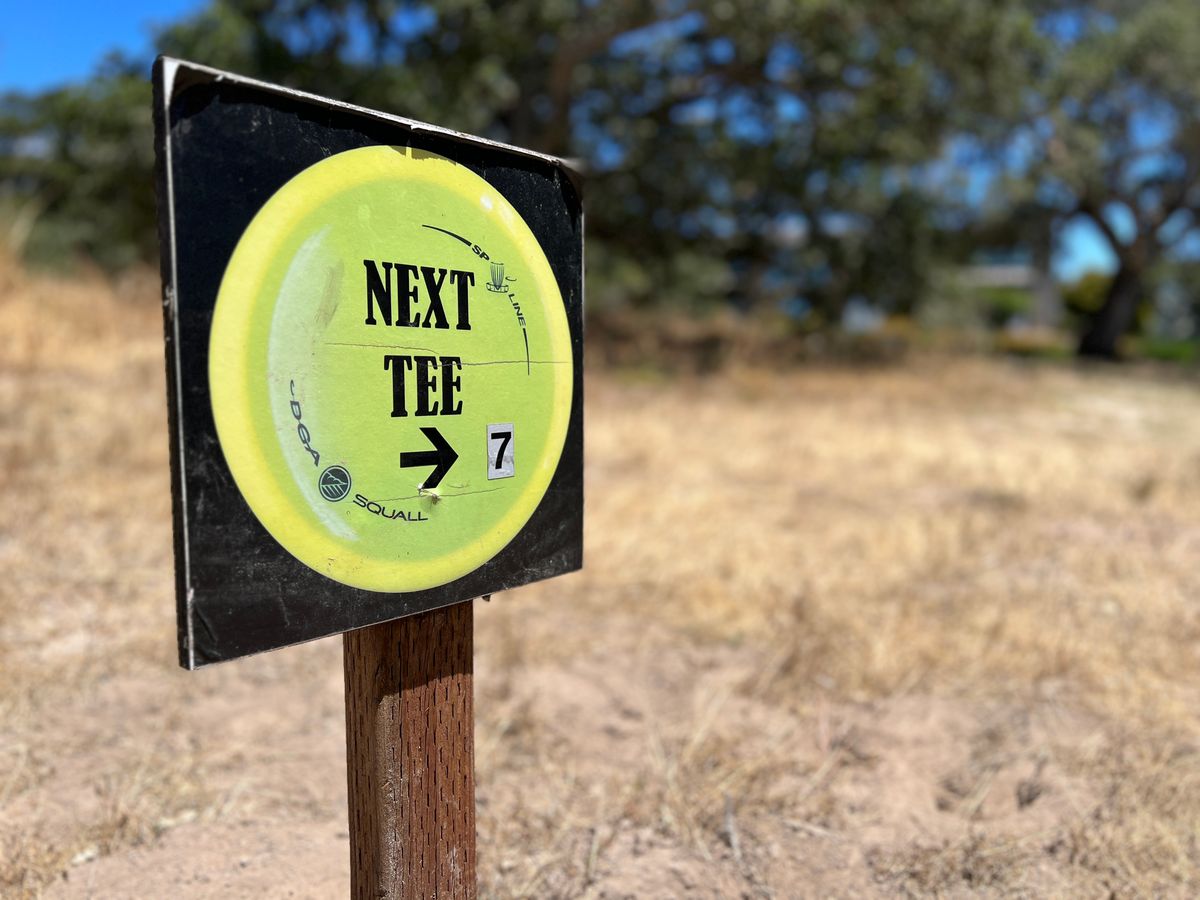
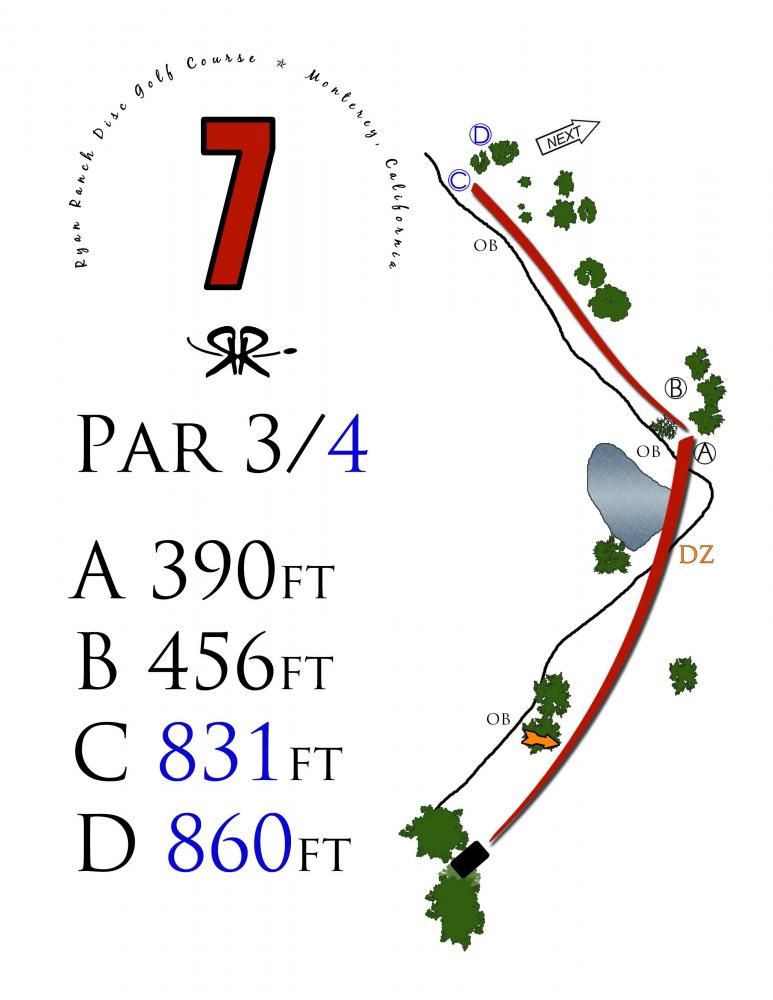
Hole 7

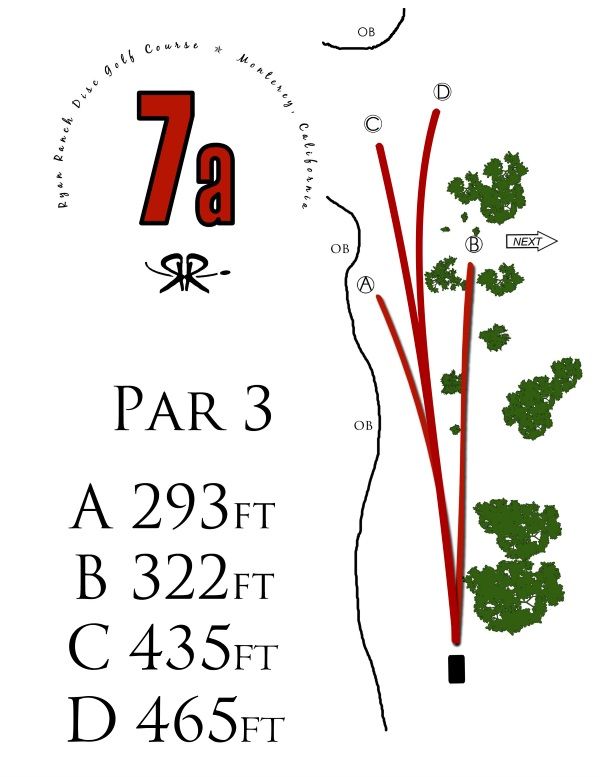
Hole 7A

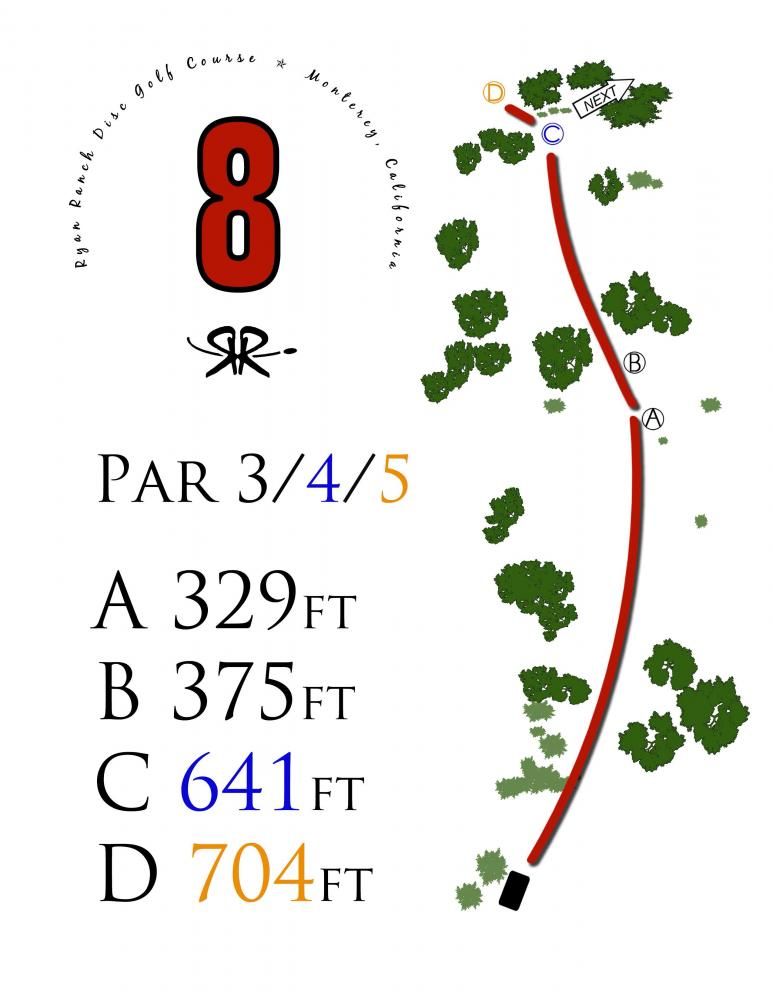
Hole 8
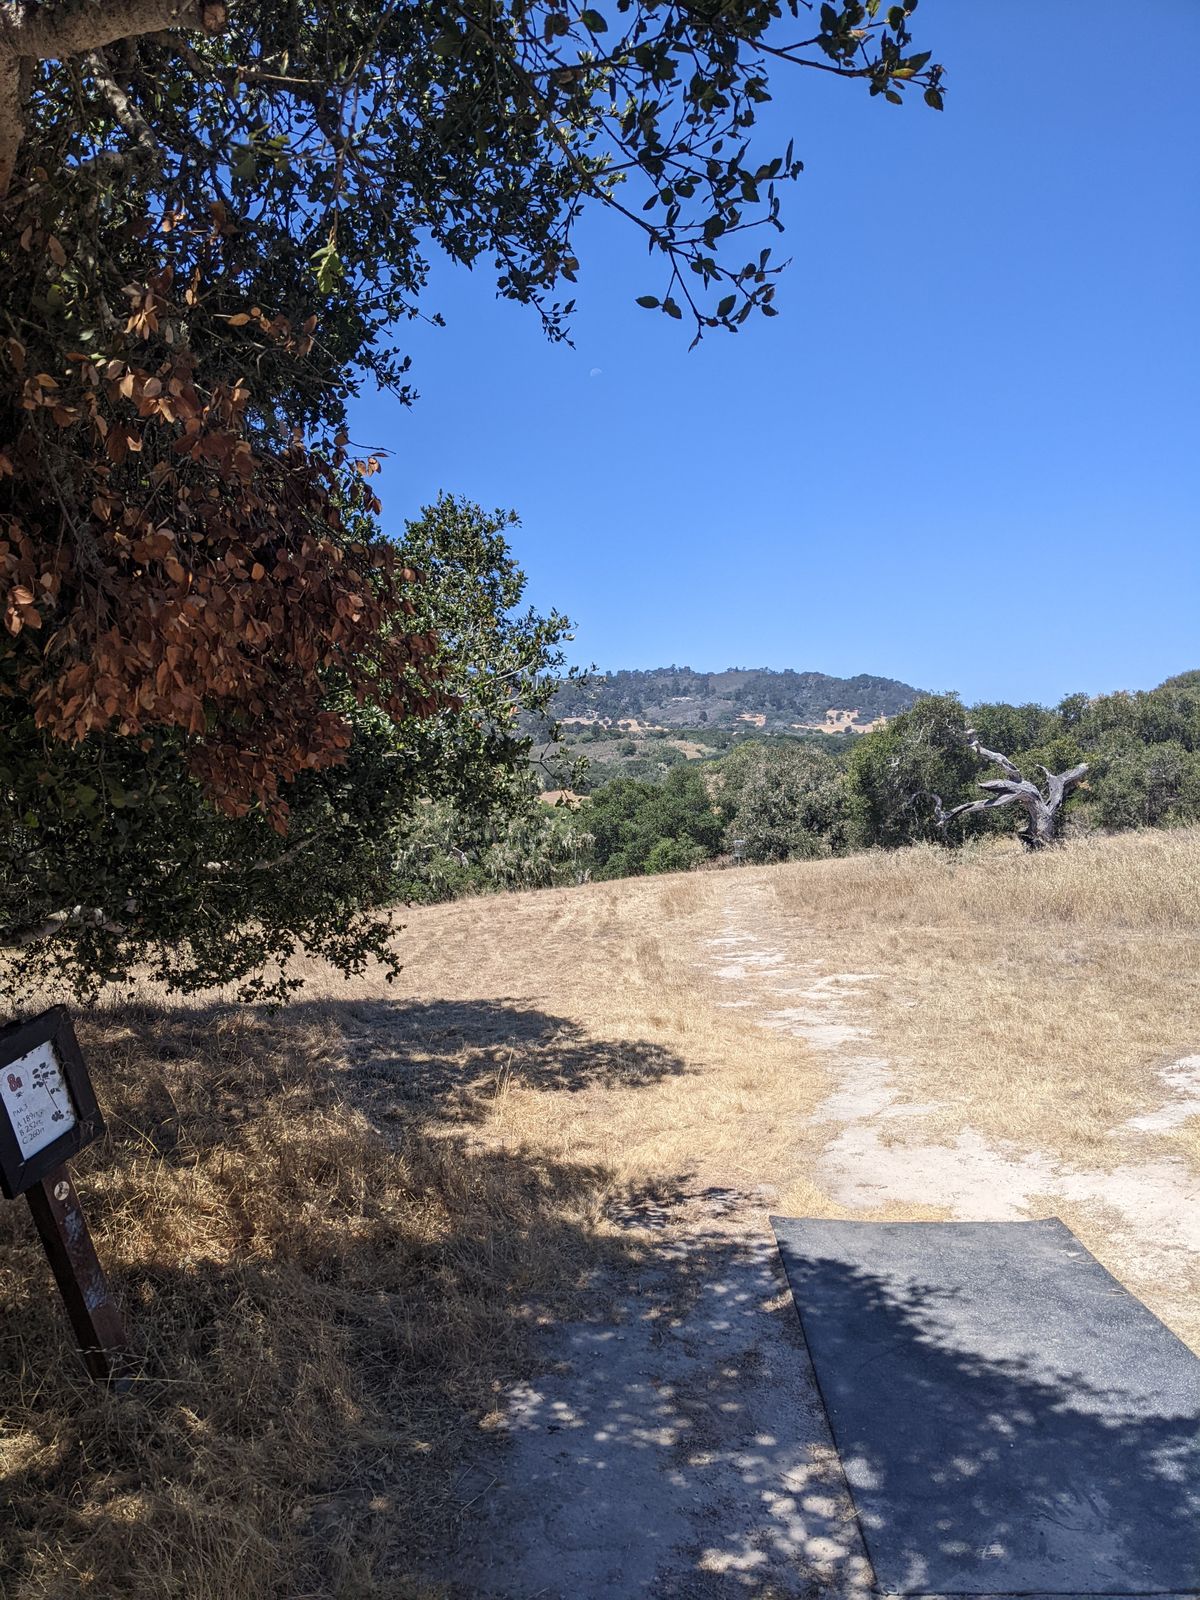
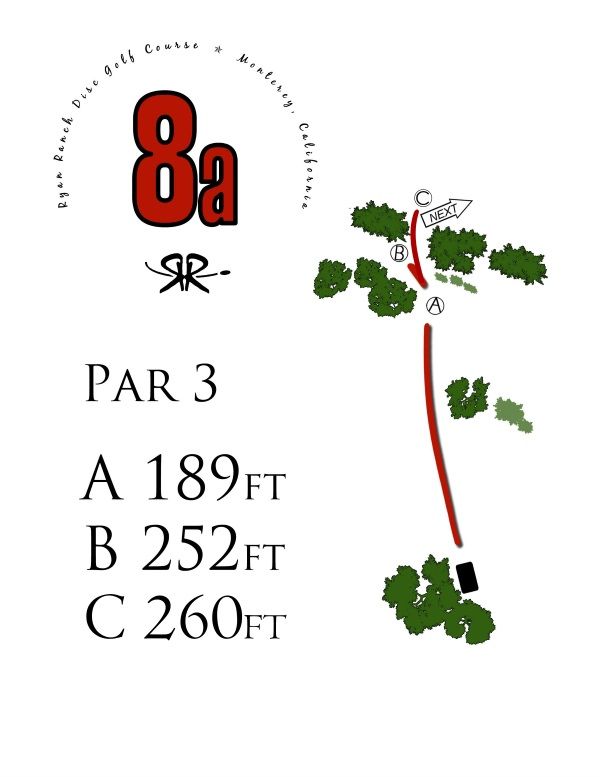
Hole 8A
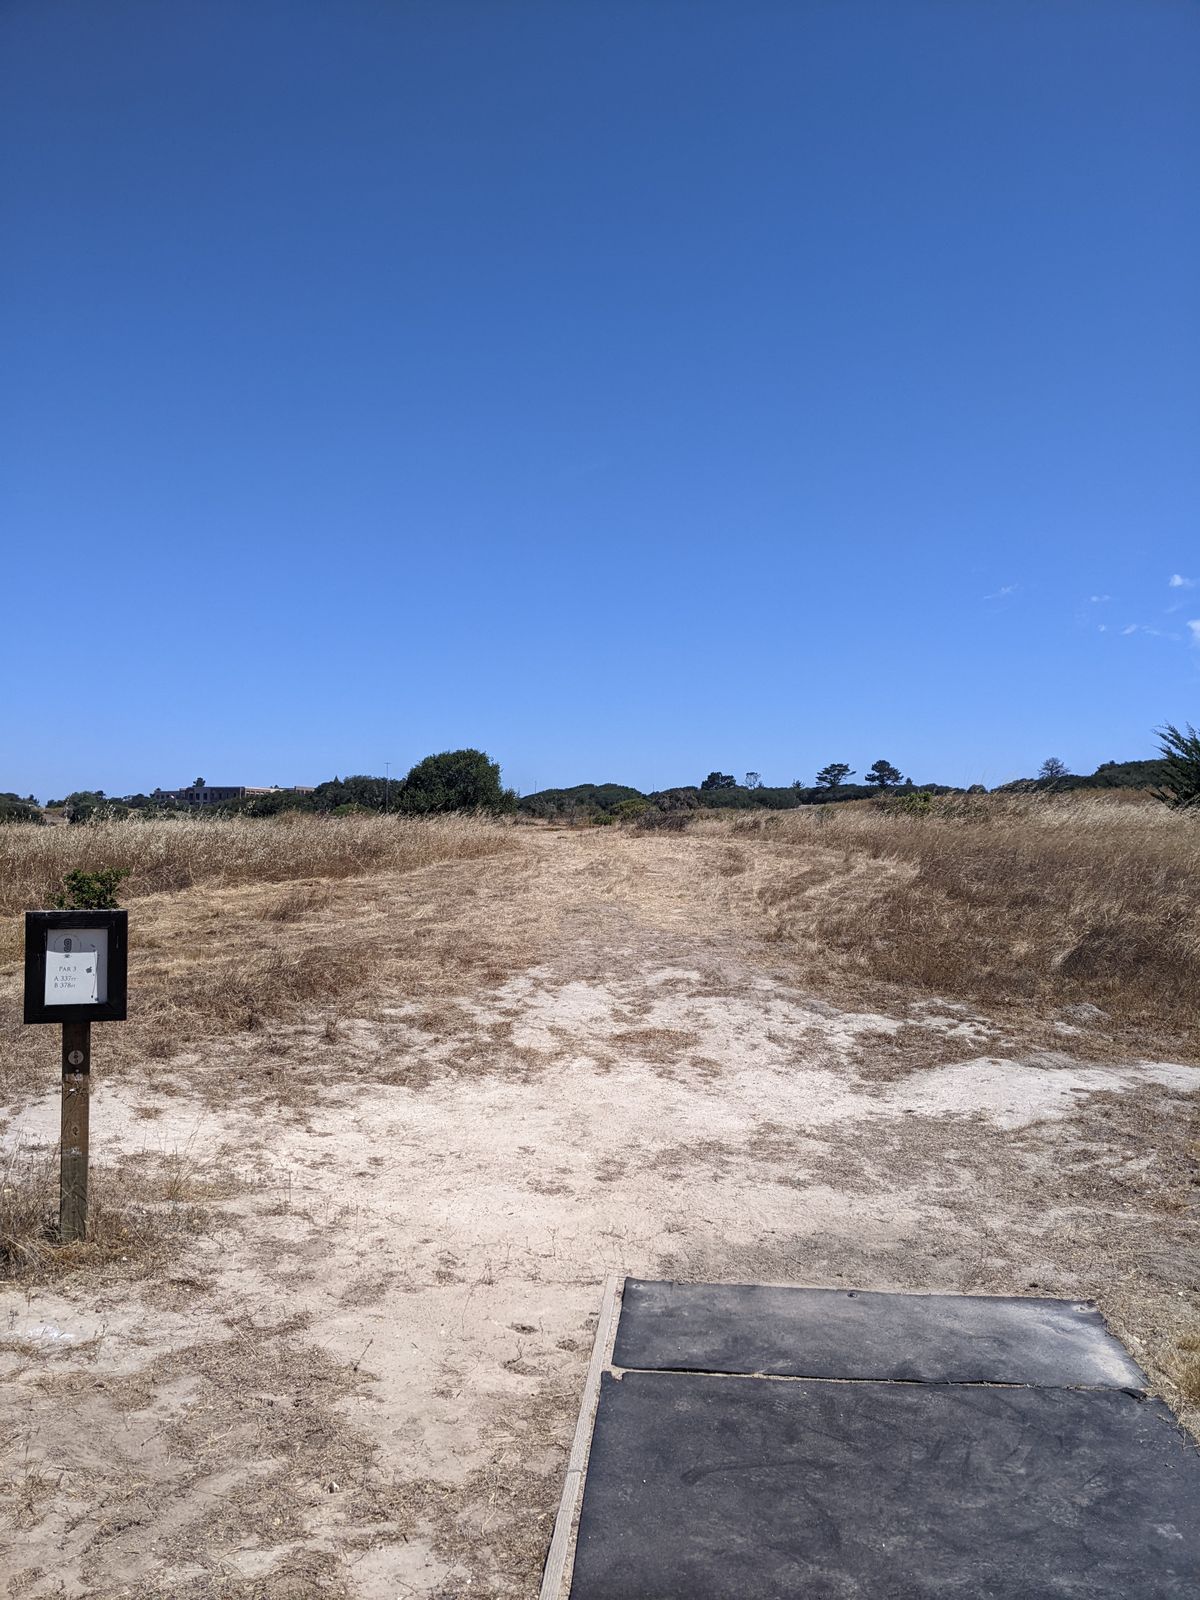
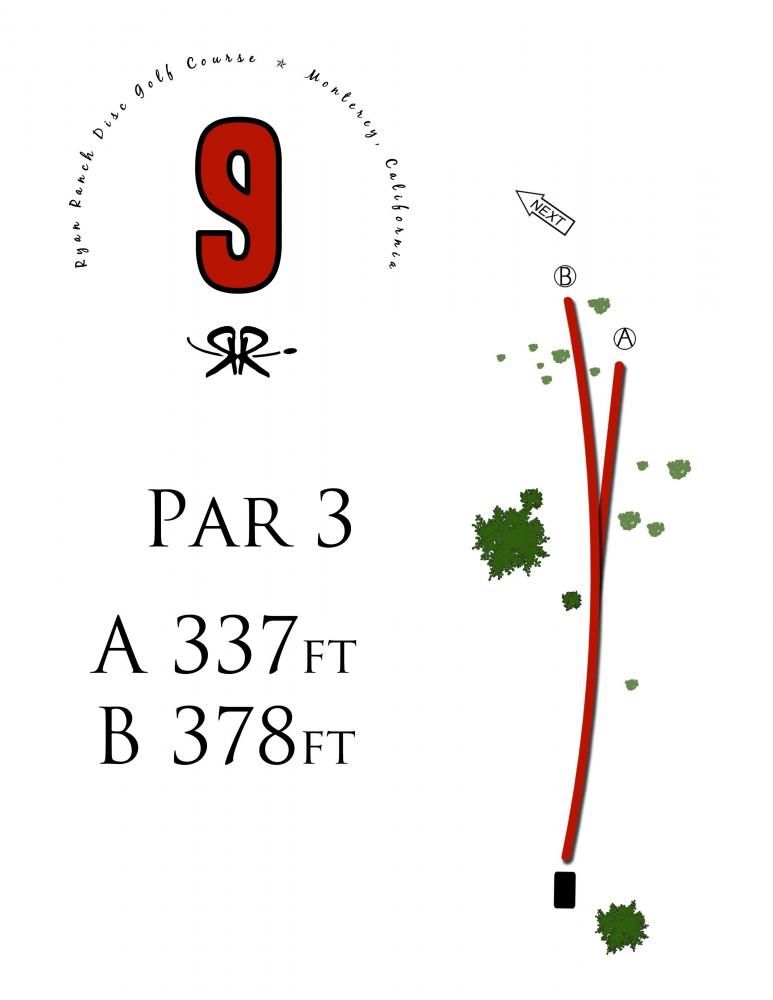
Hole 9
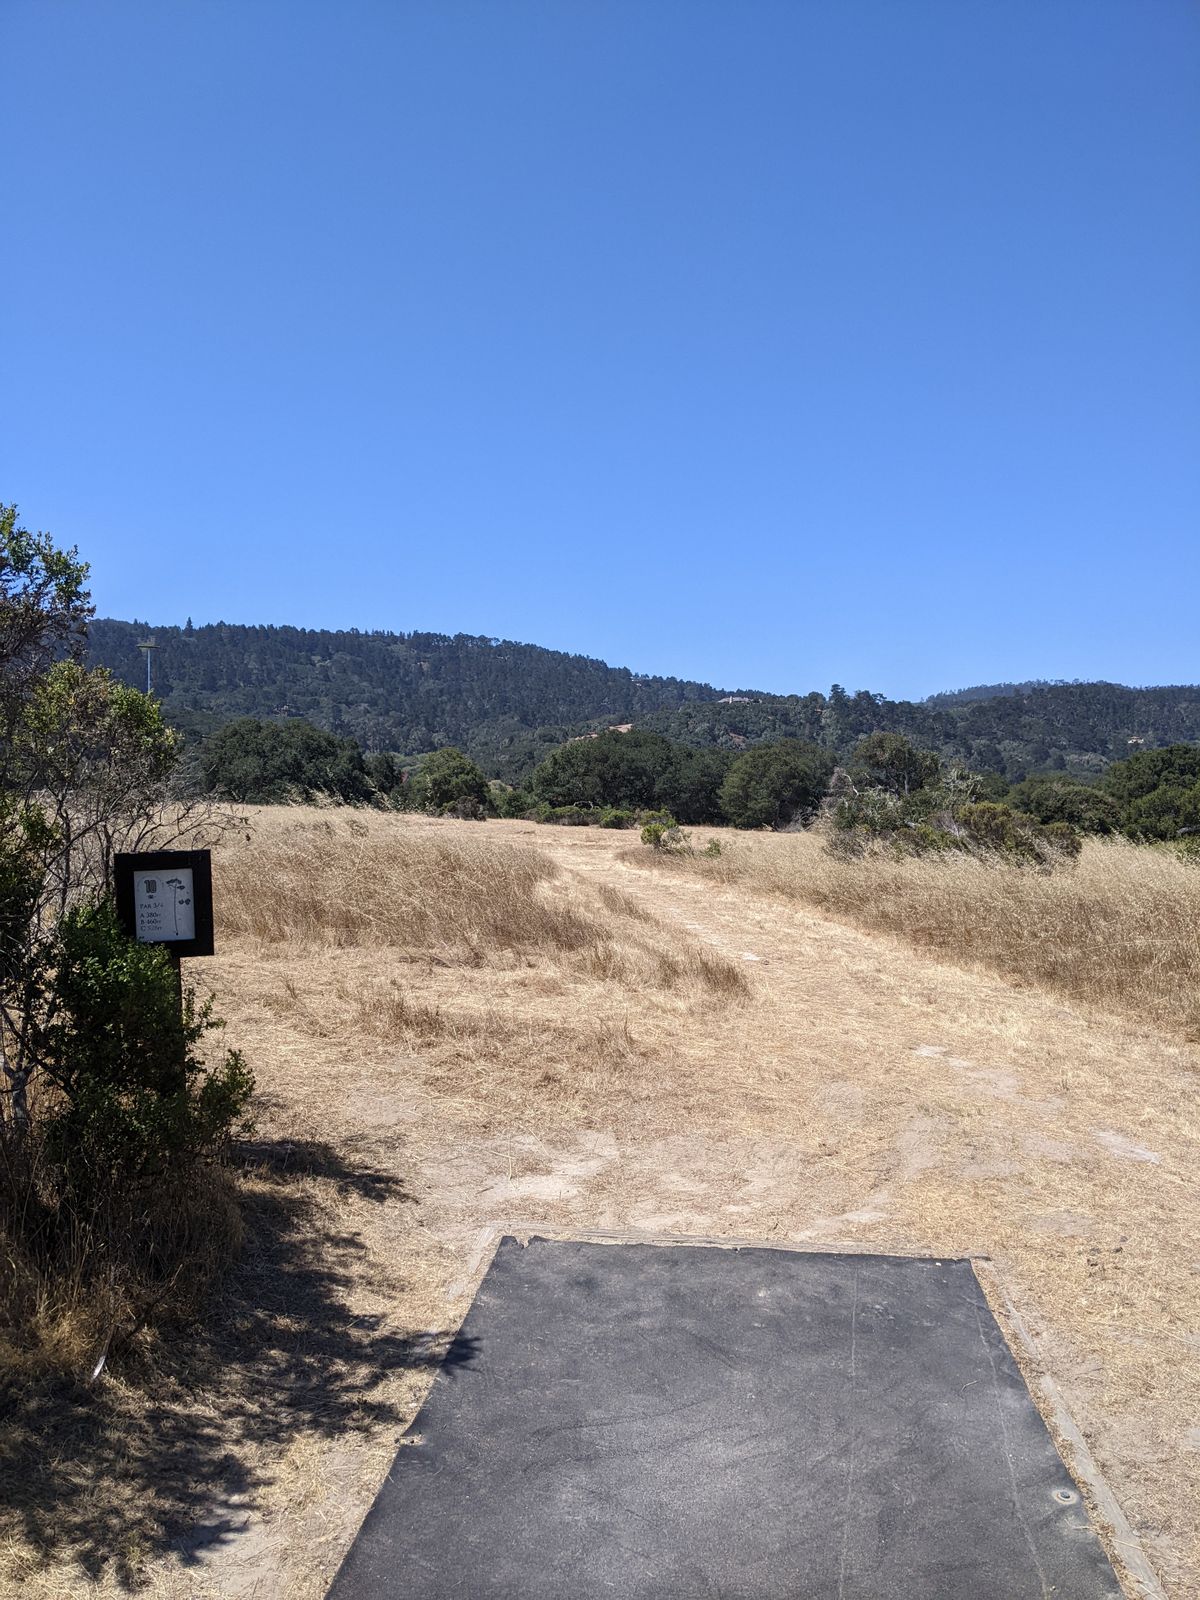
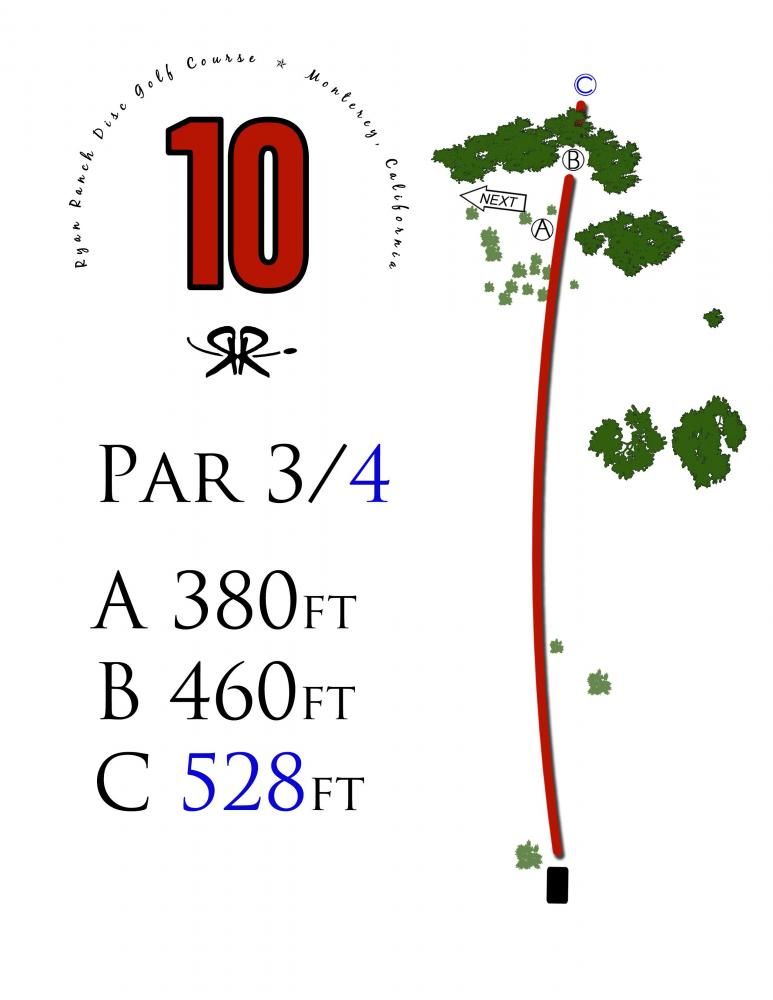
Hole 10
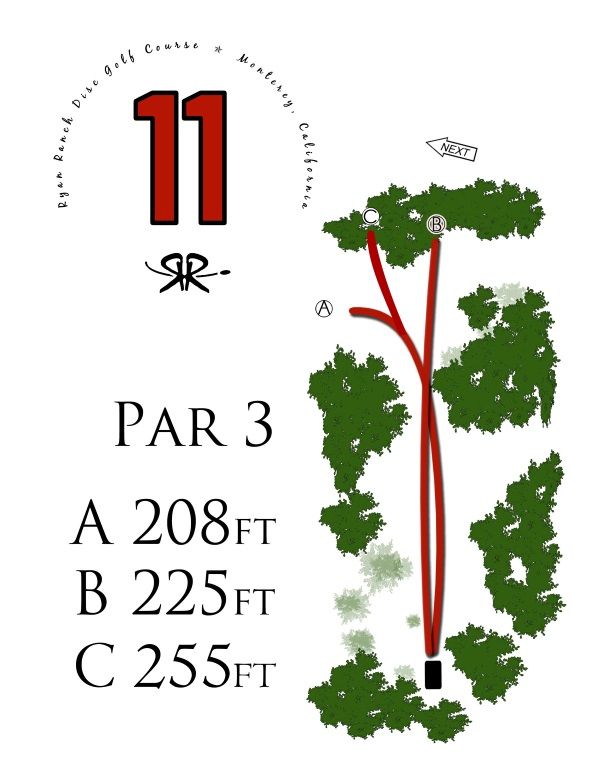
Hole 11

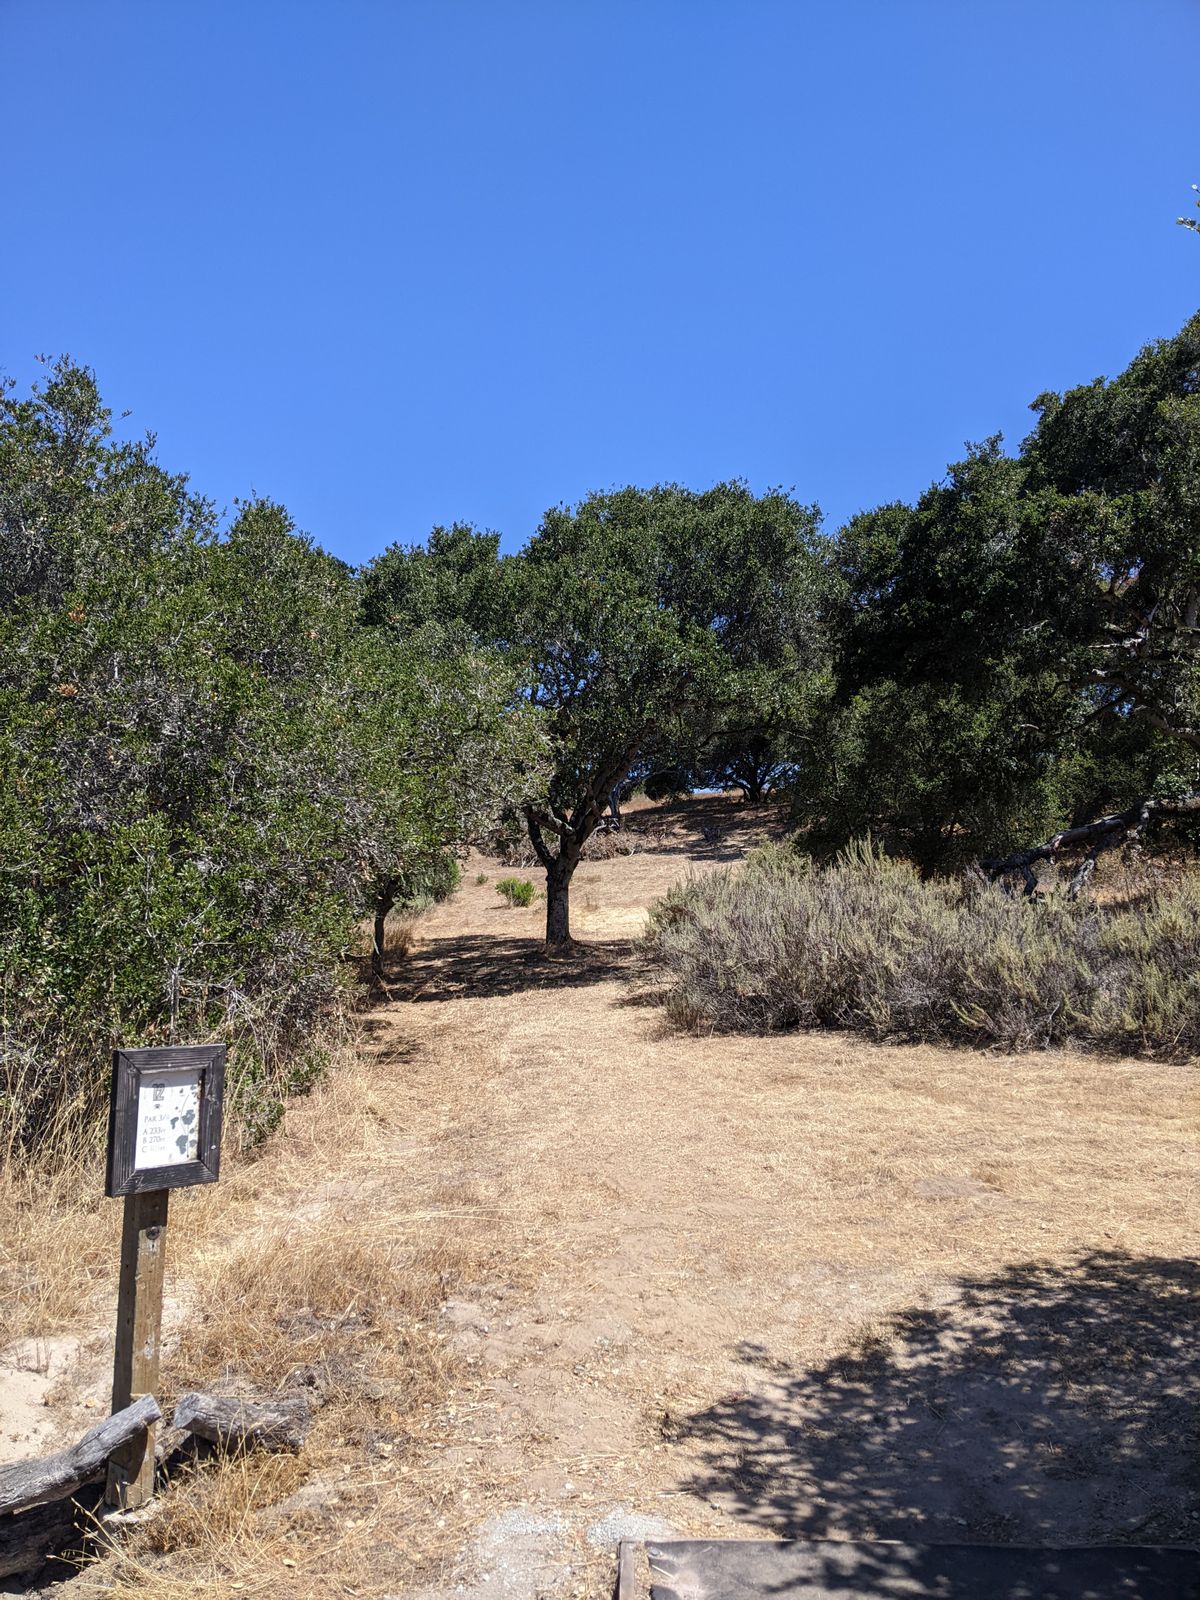
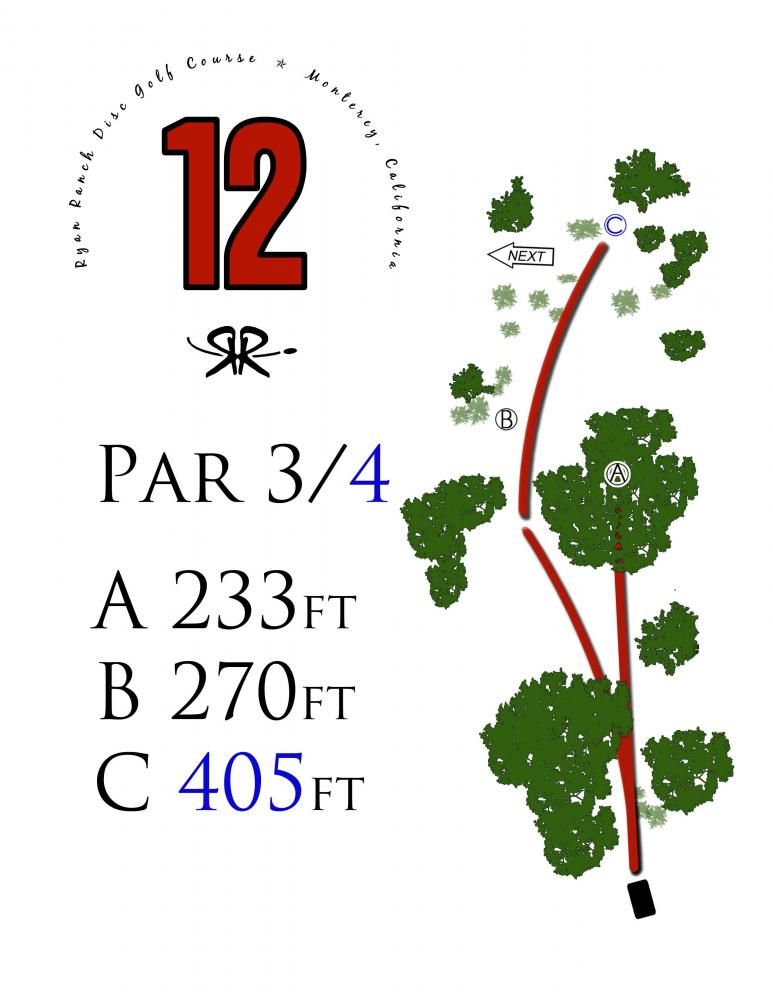
Hole 12
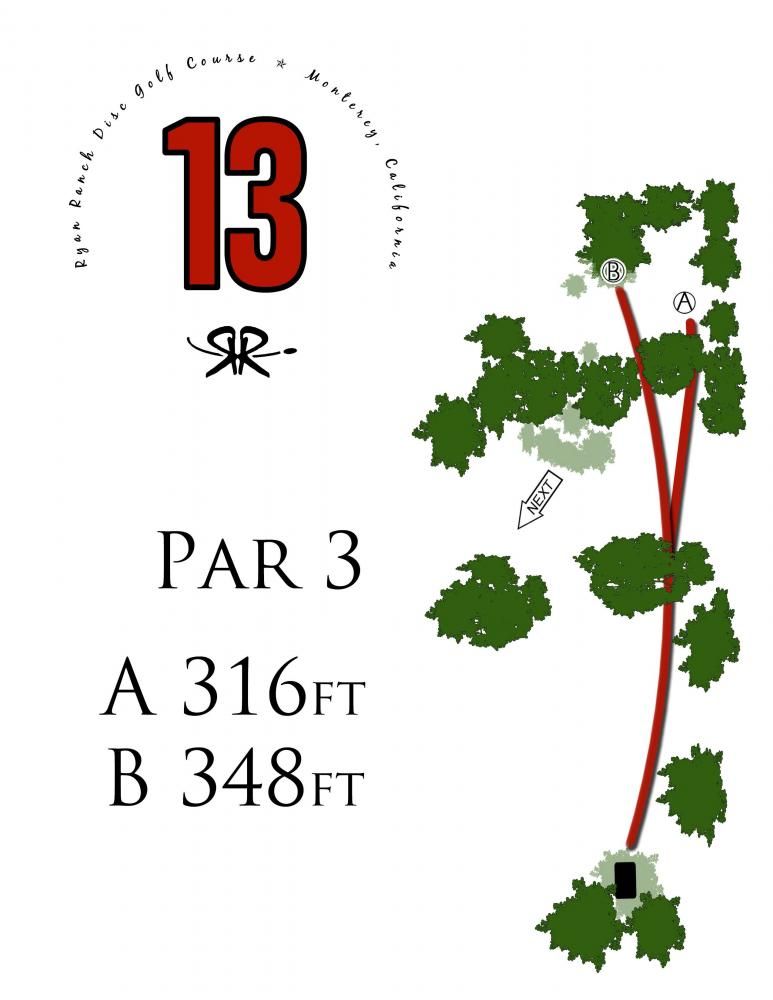
Hole 13

Hole 13A

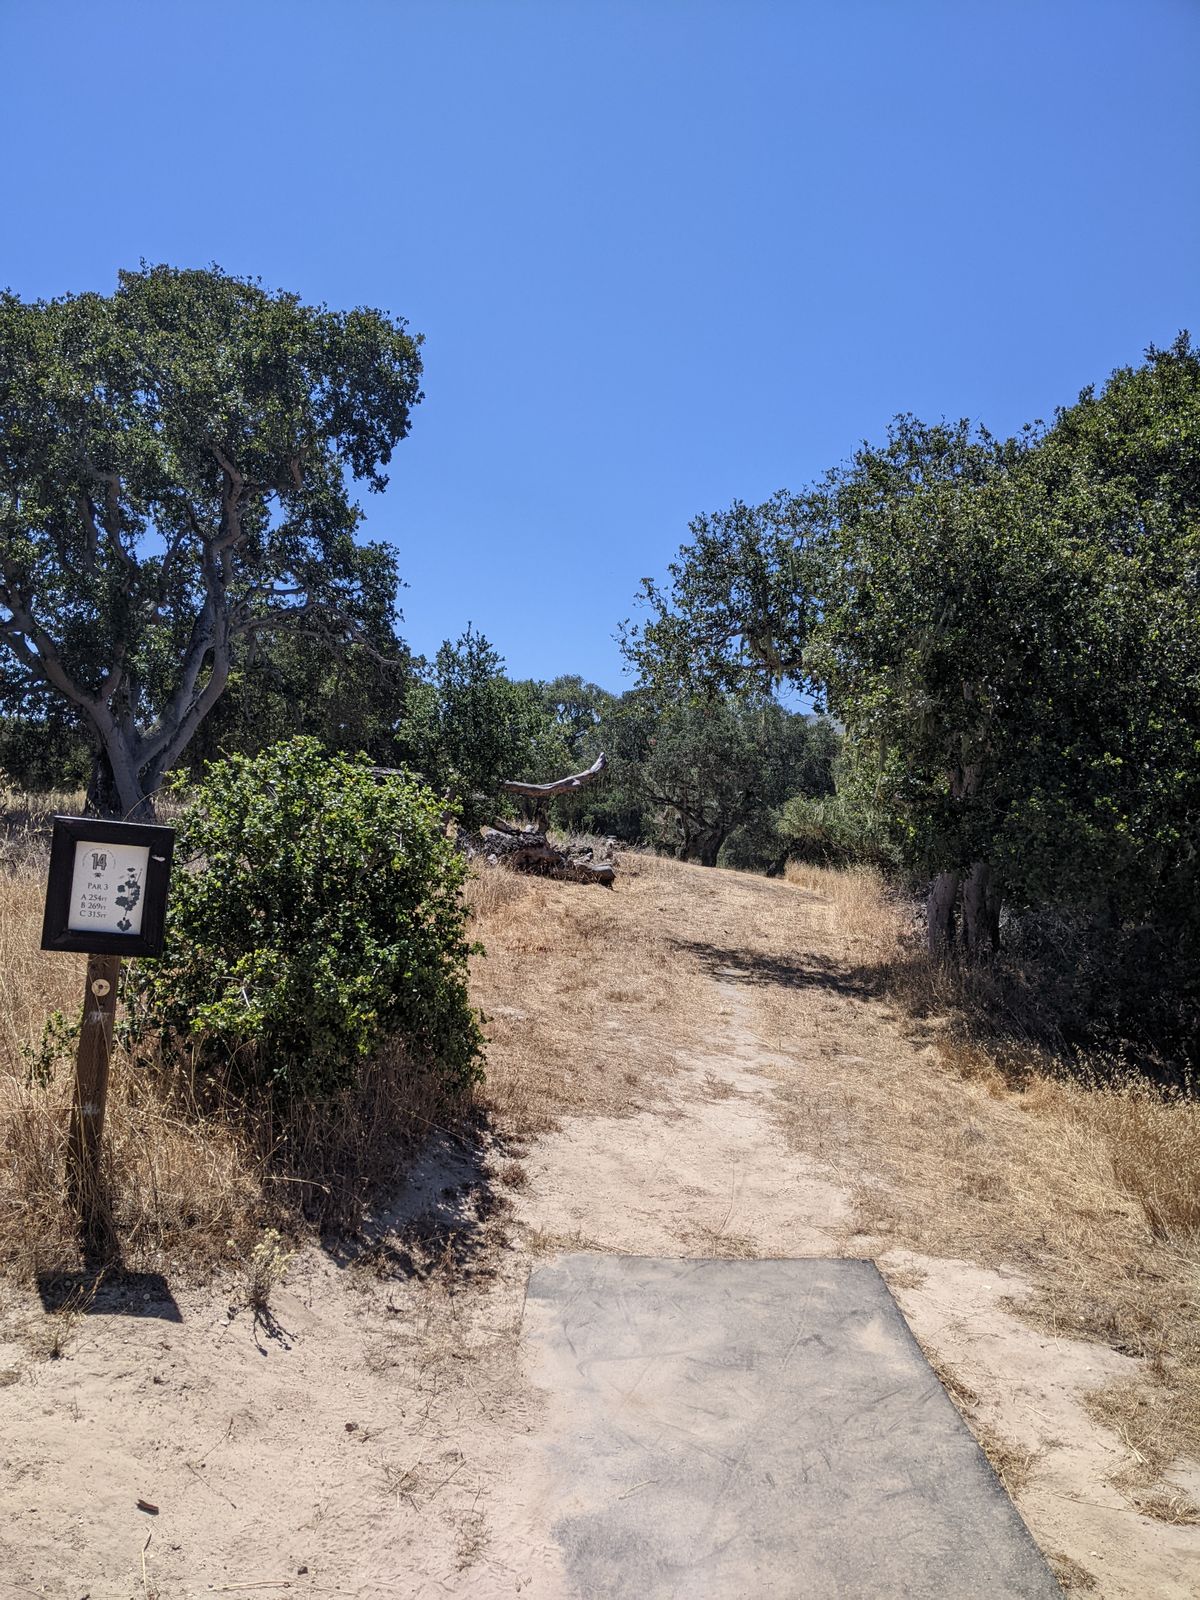
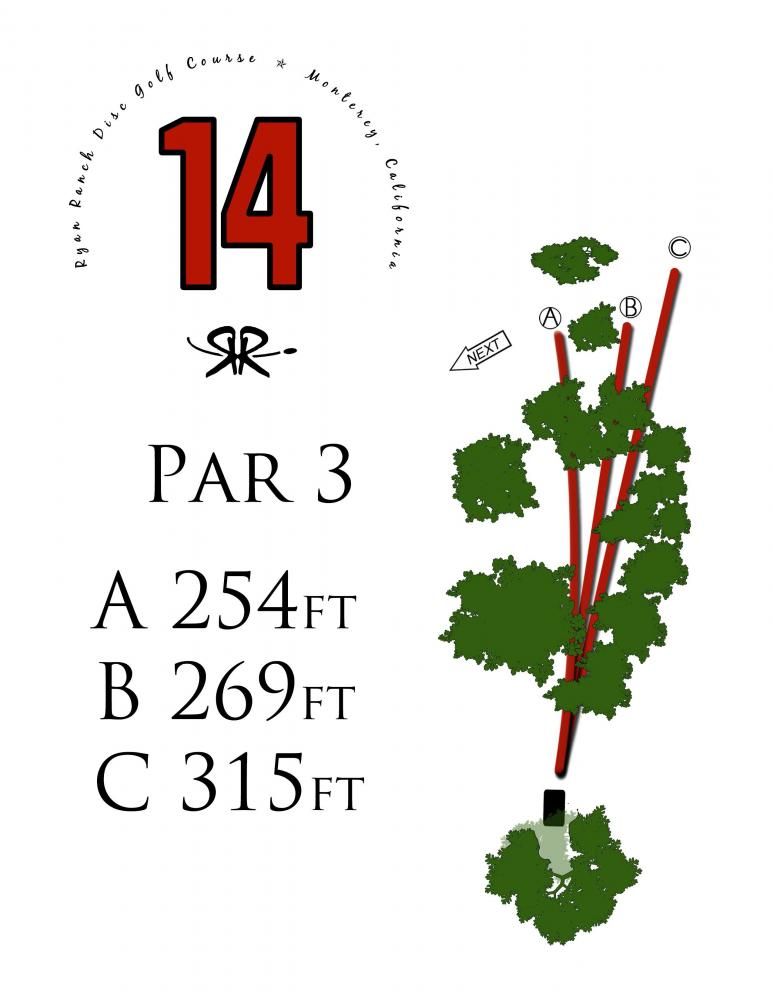
Hole 14
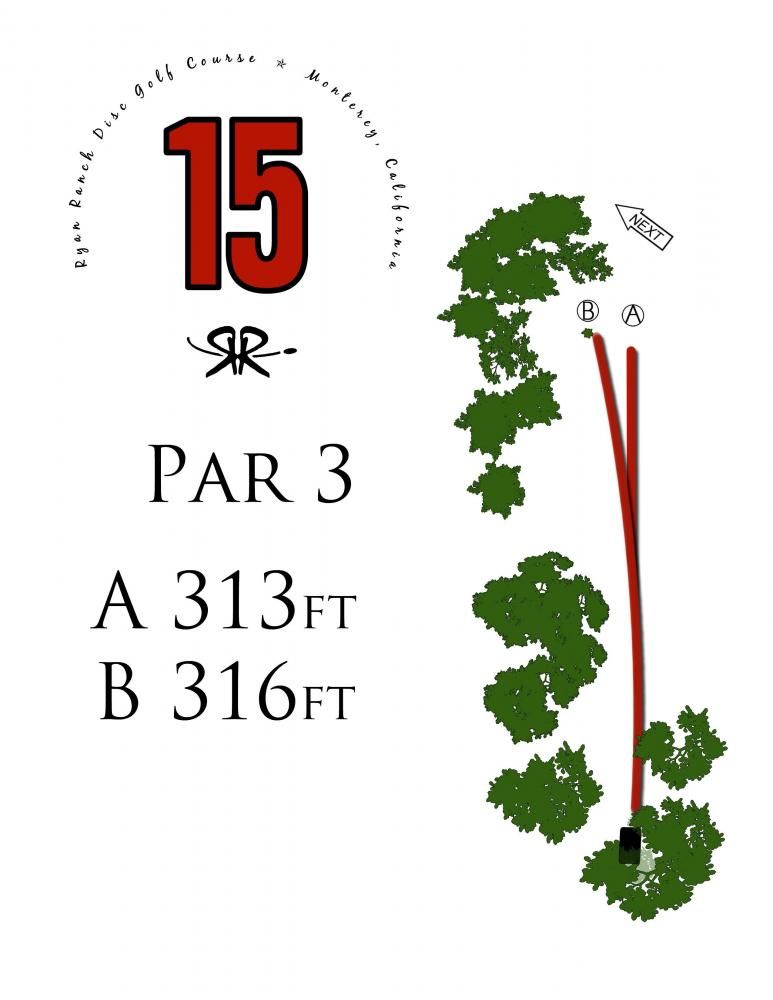
Hole 15

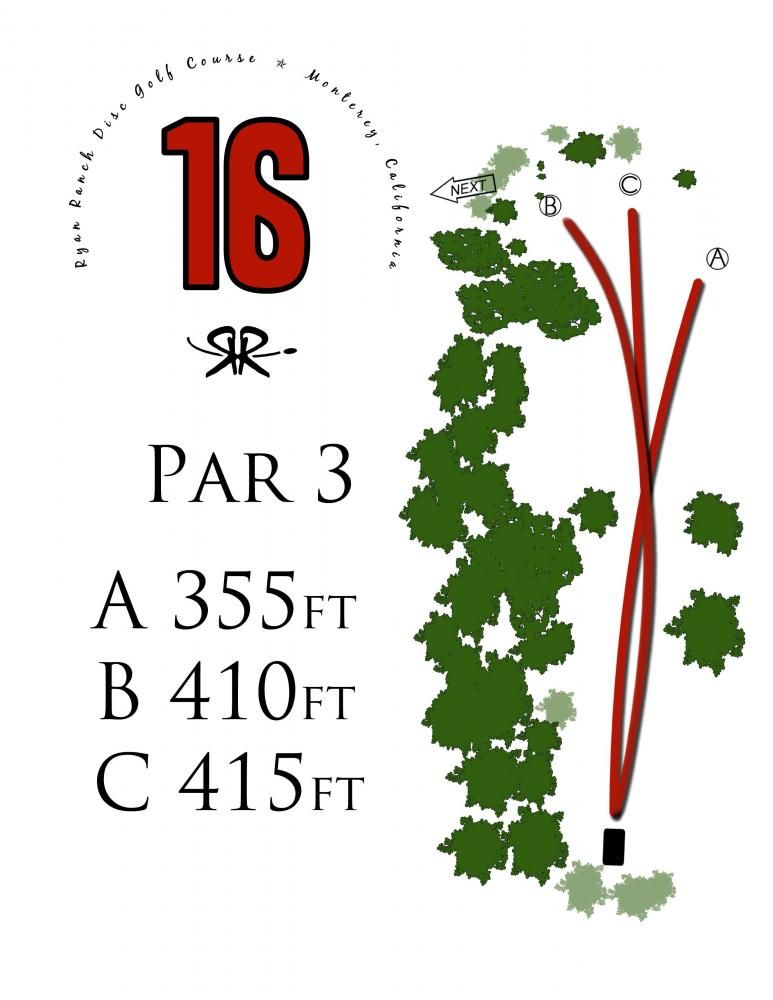
Hole 16

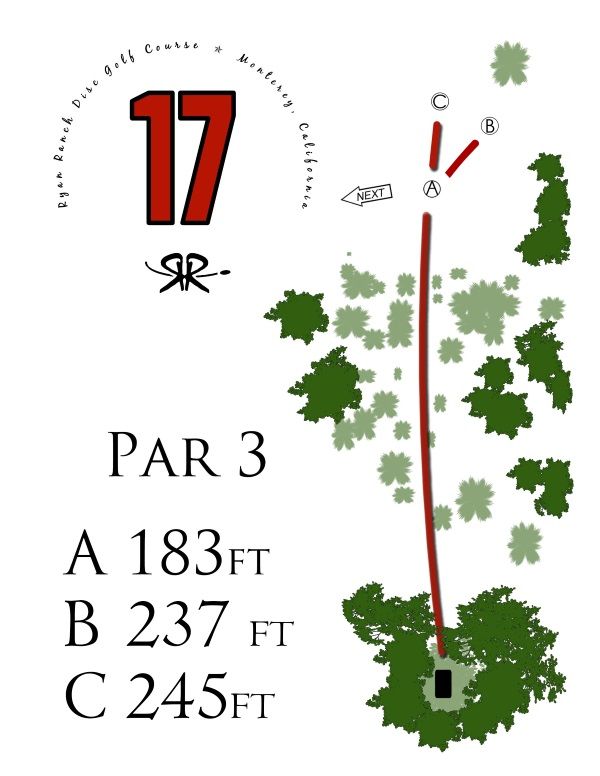
Hole 17

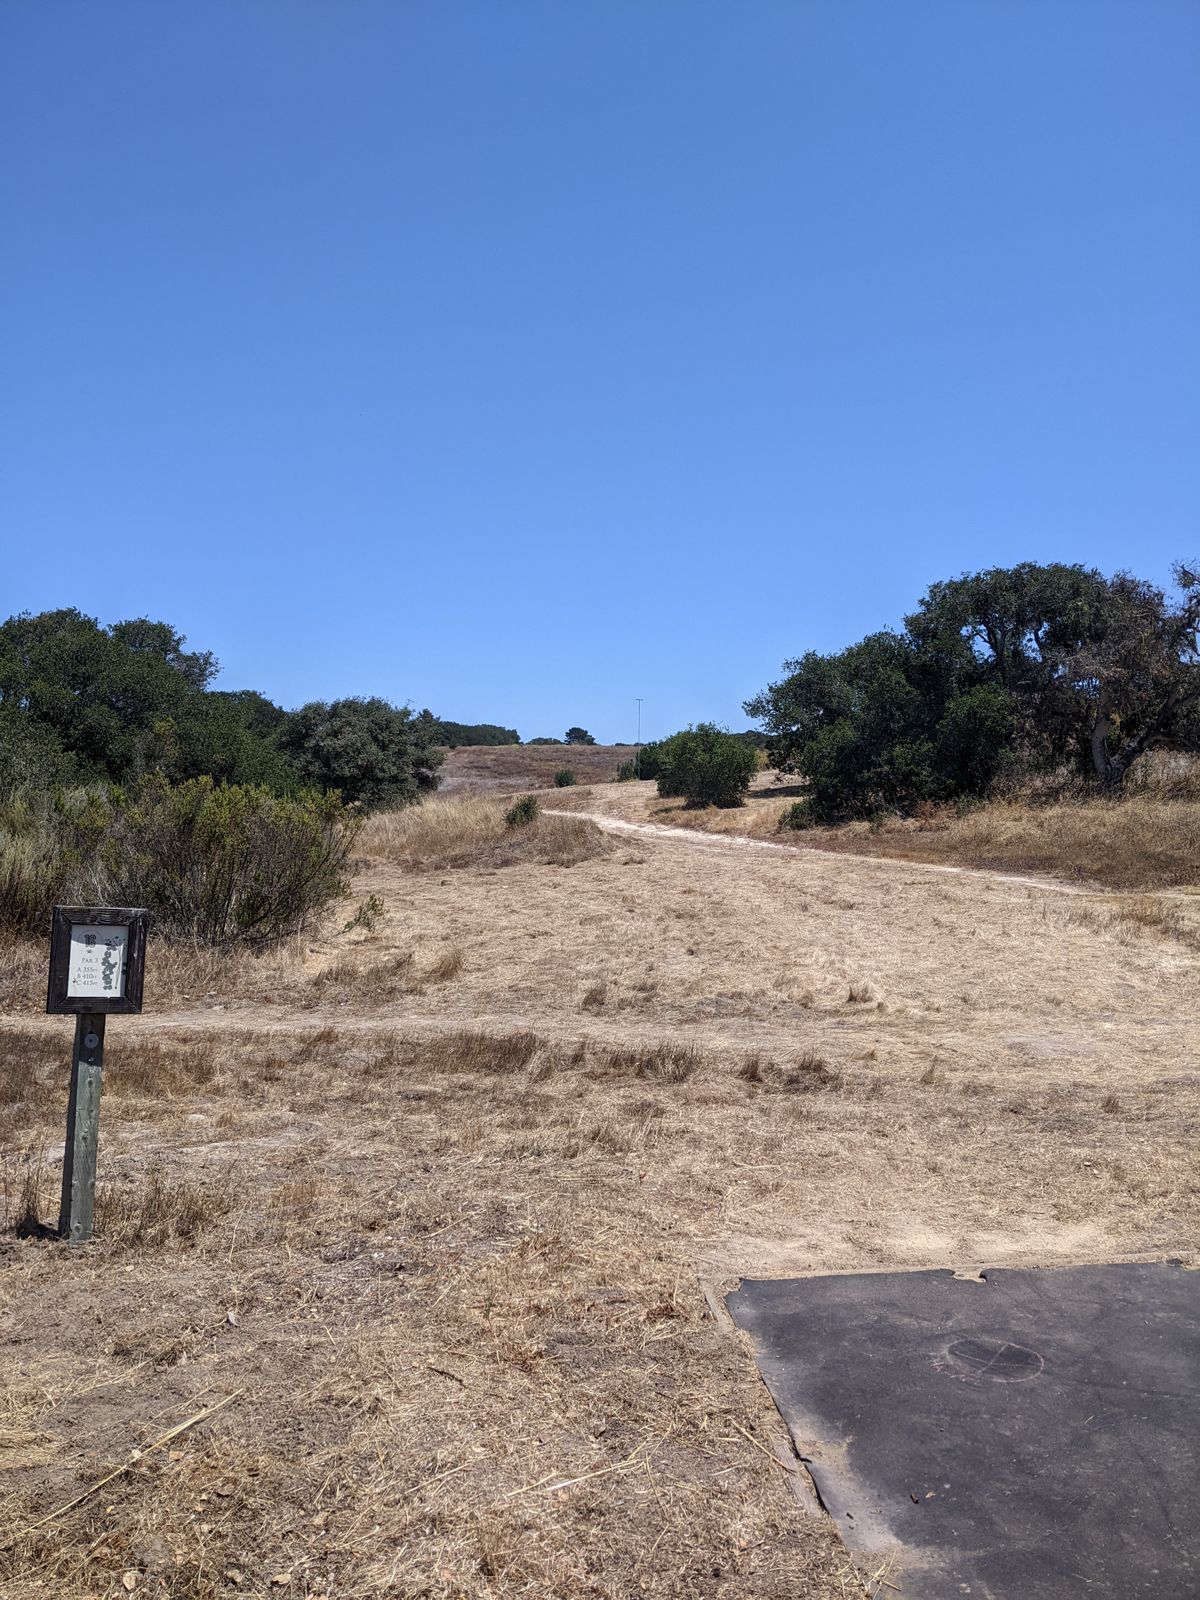
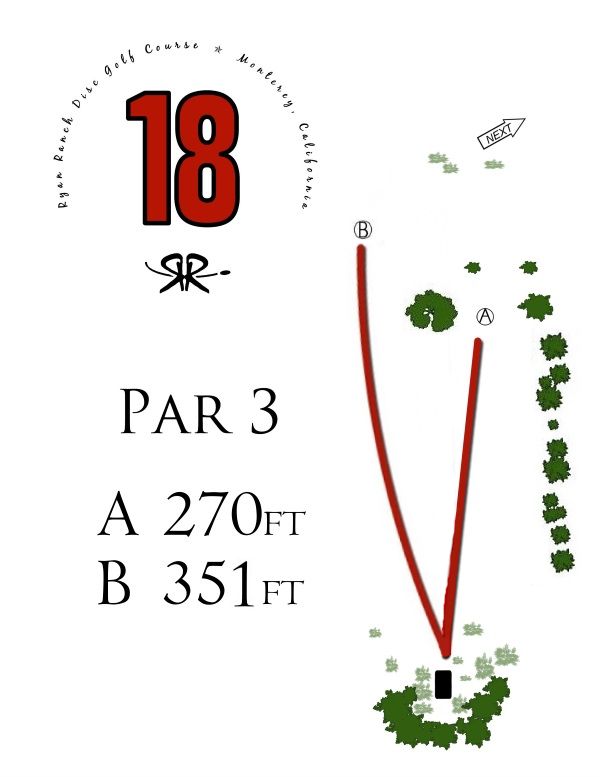
Hole 18

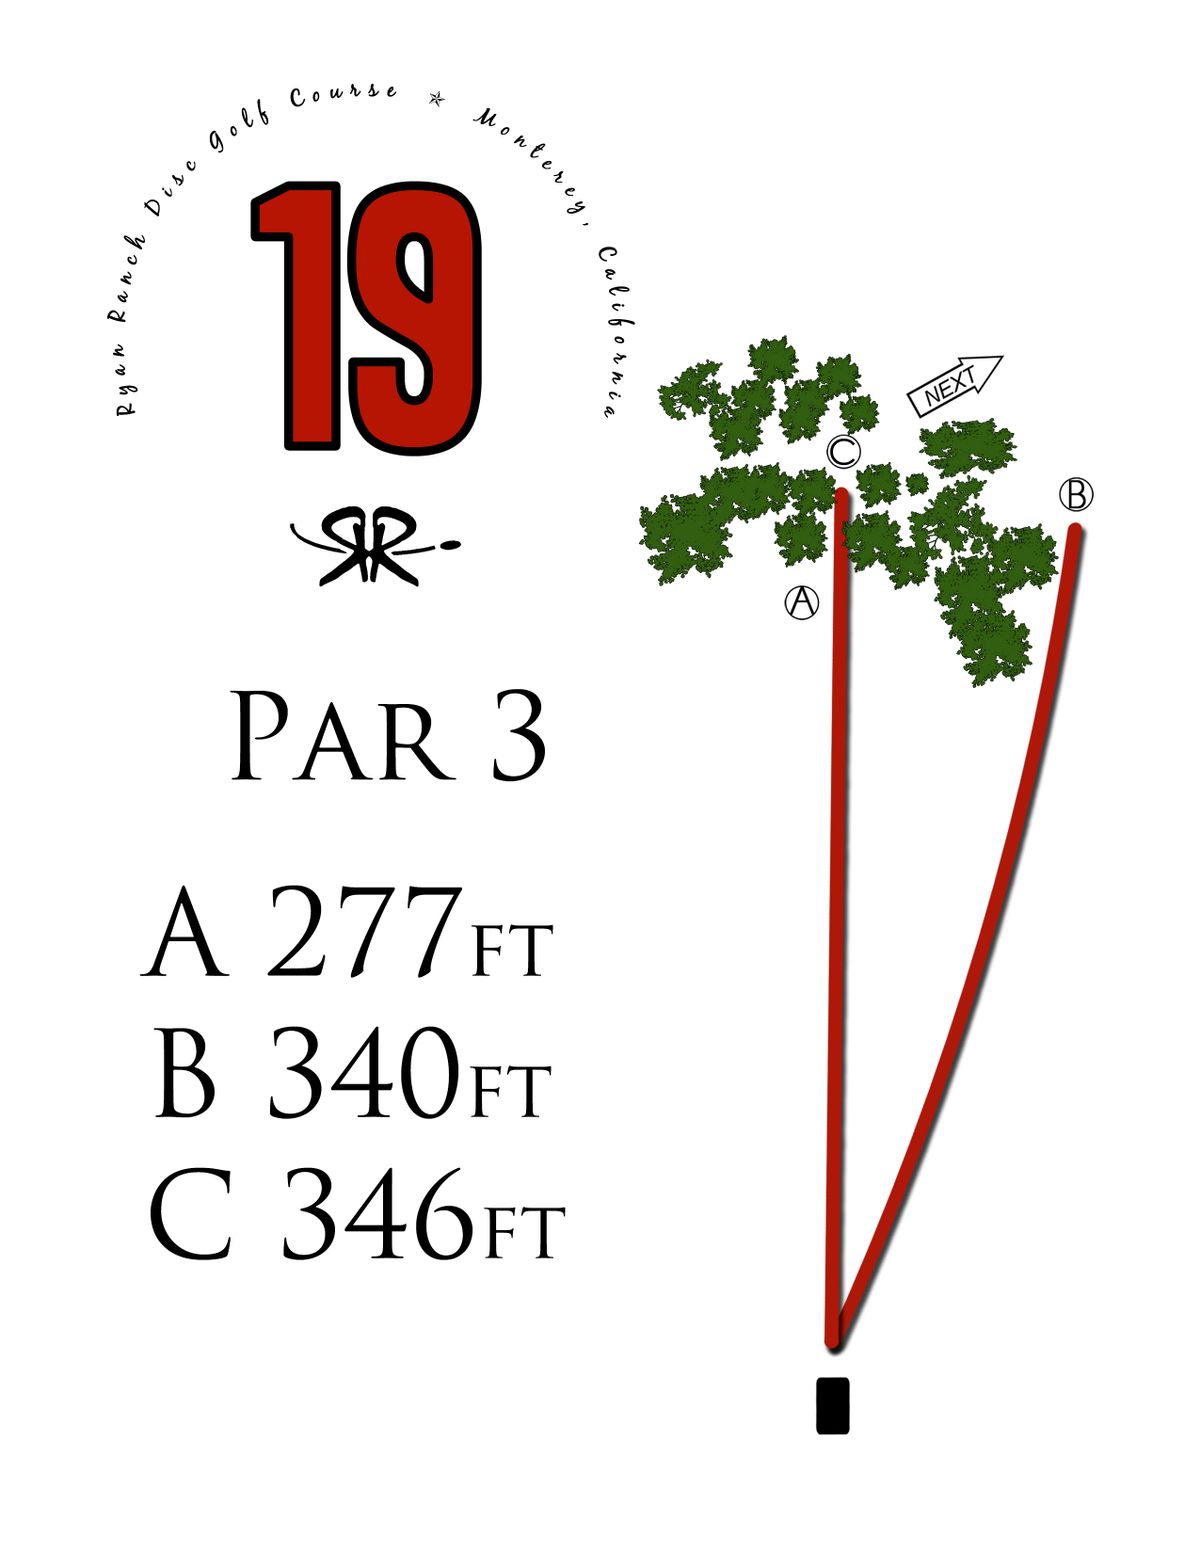
Hole 19
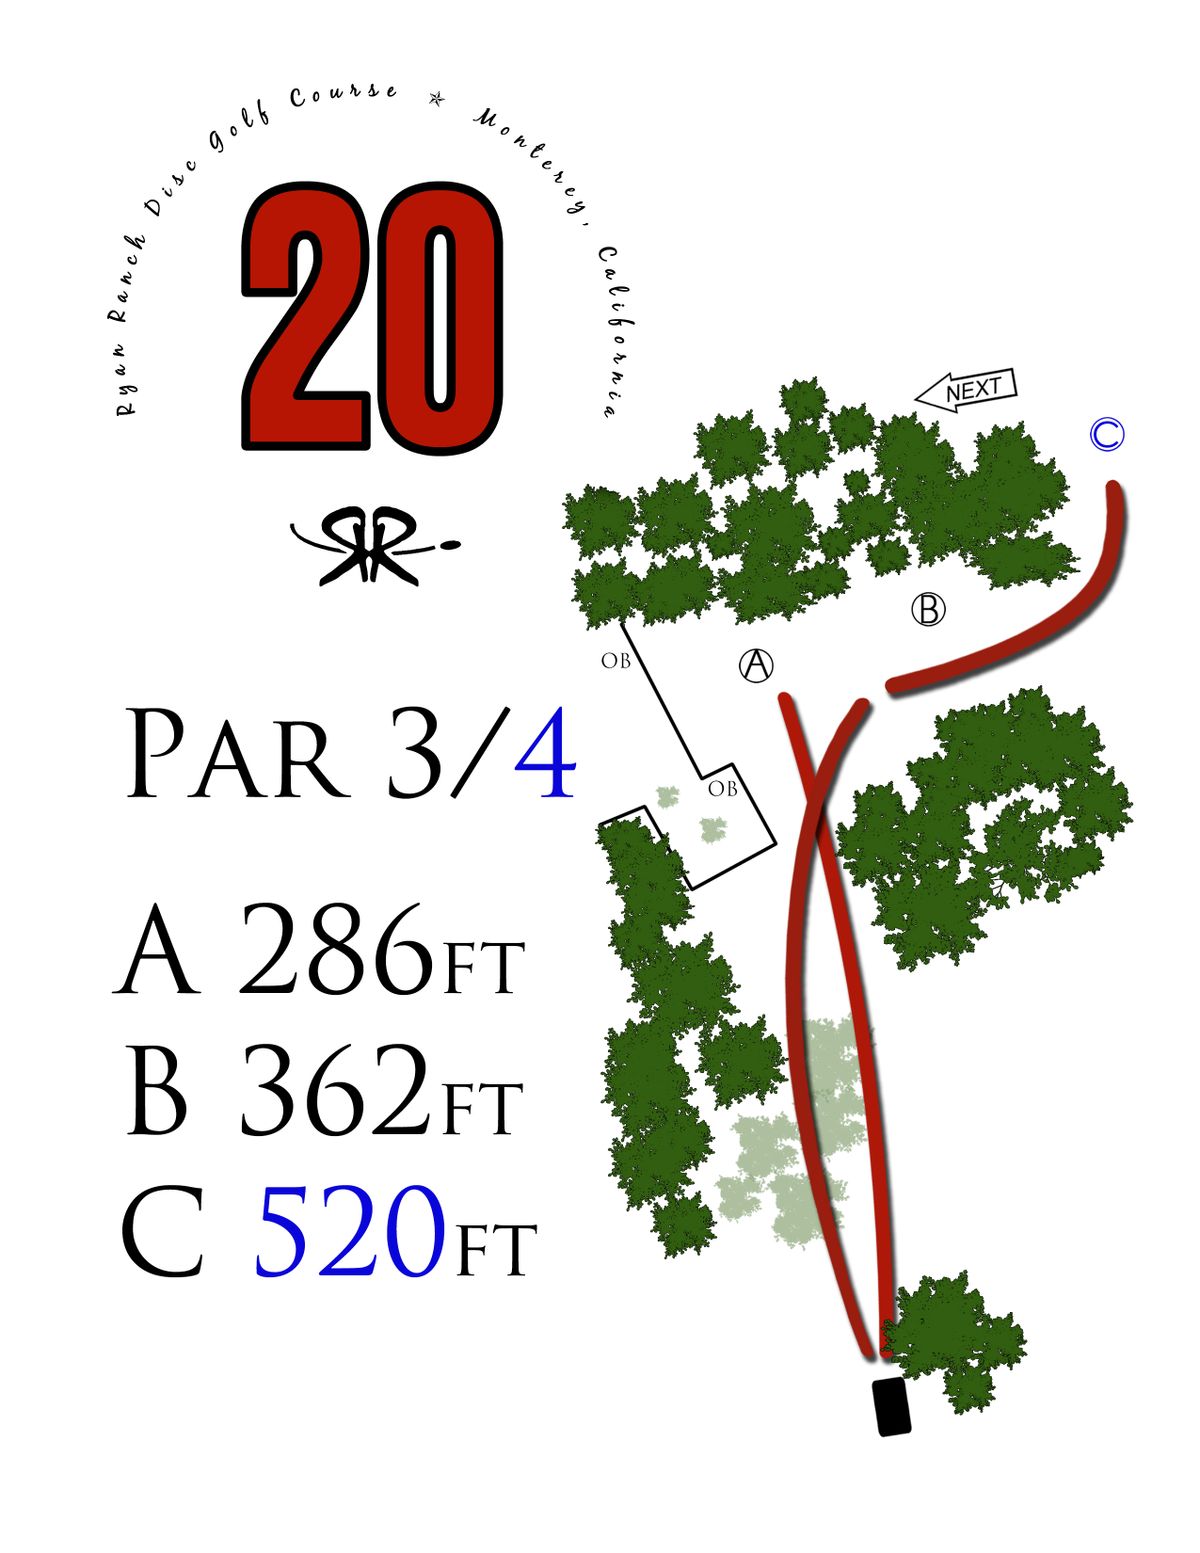
Hole 20
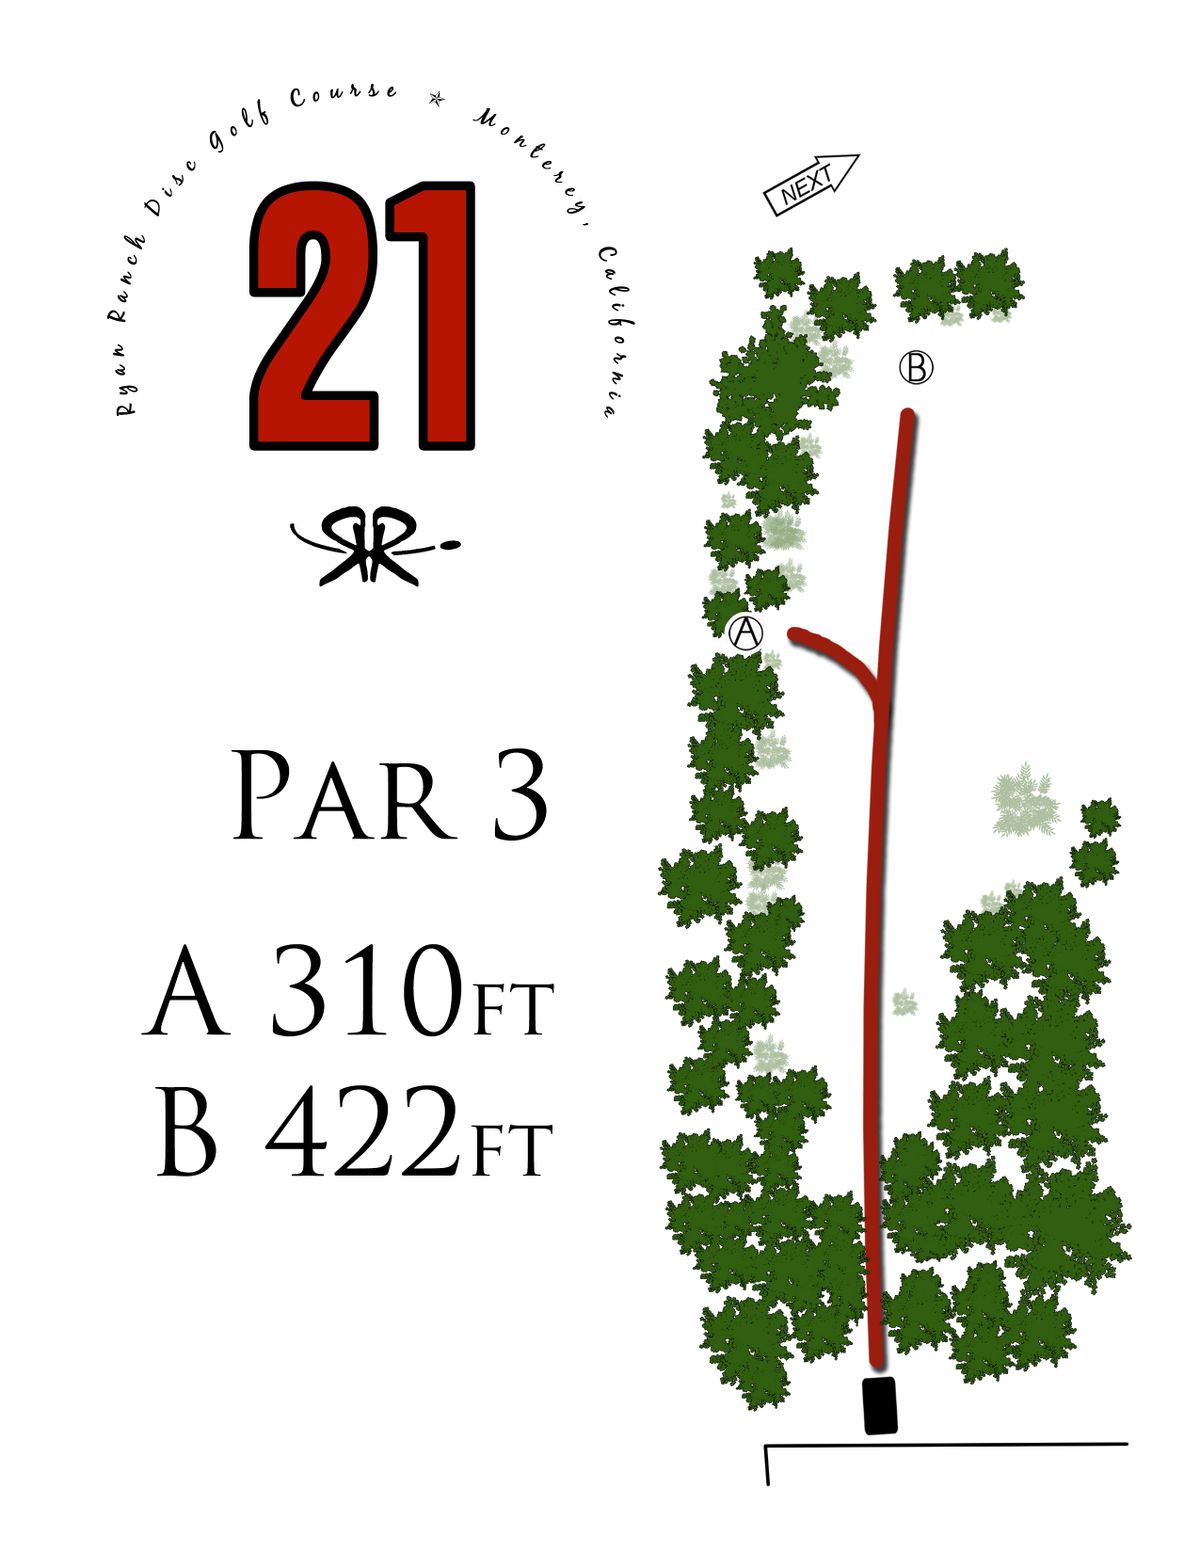
Hole 21
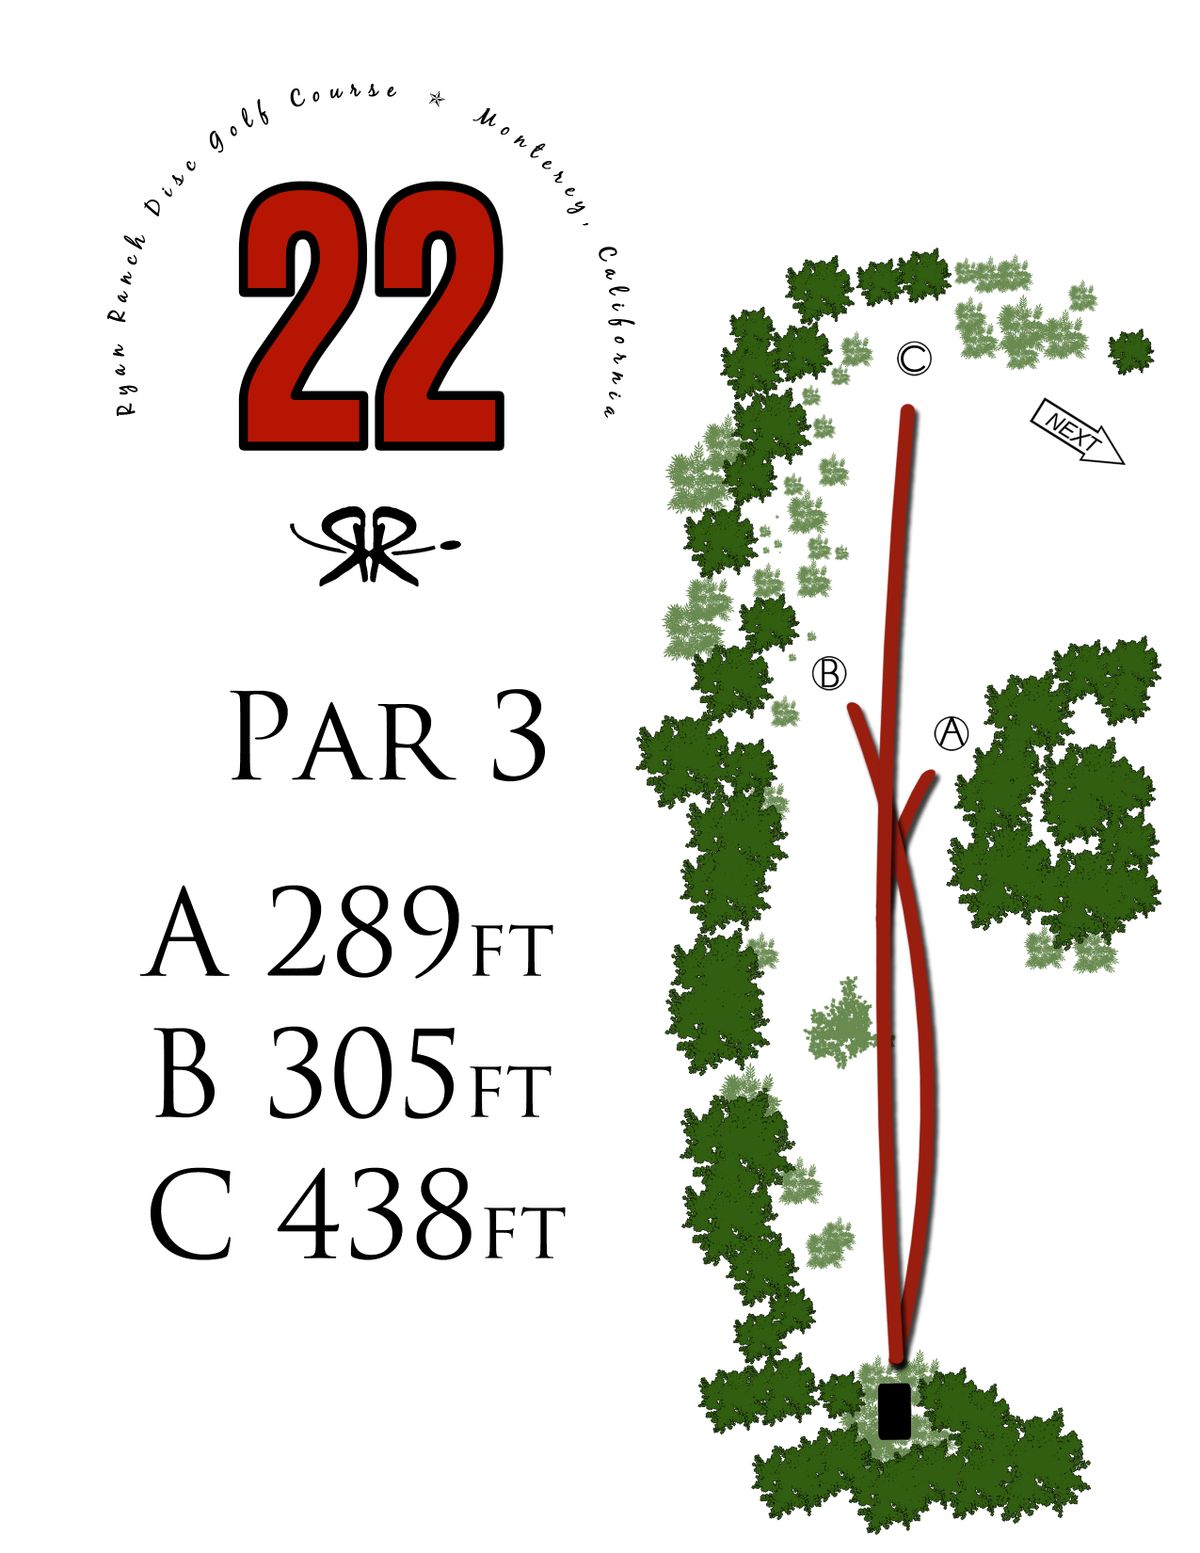
Hole 22
Hole 23

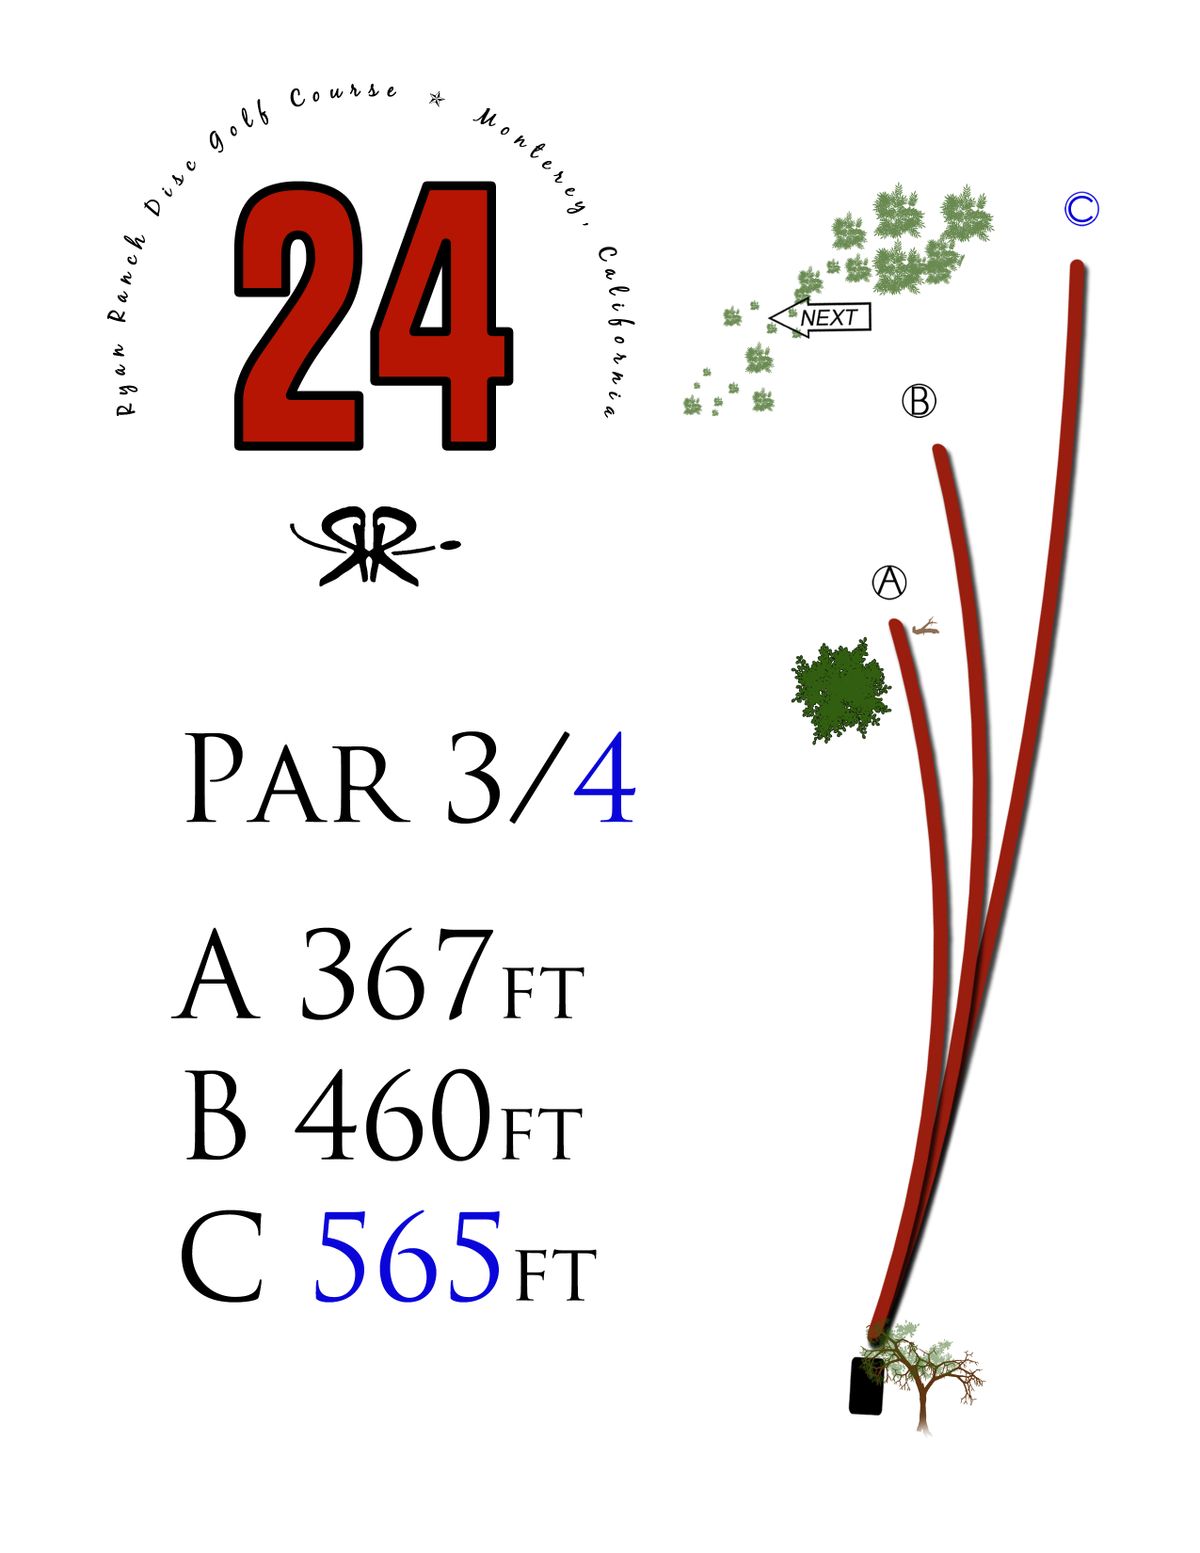
Hole 24
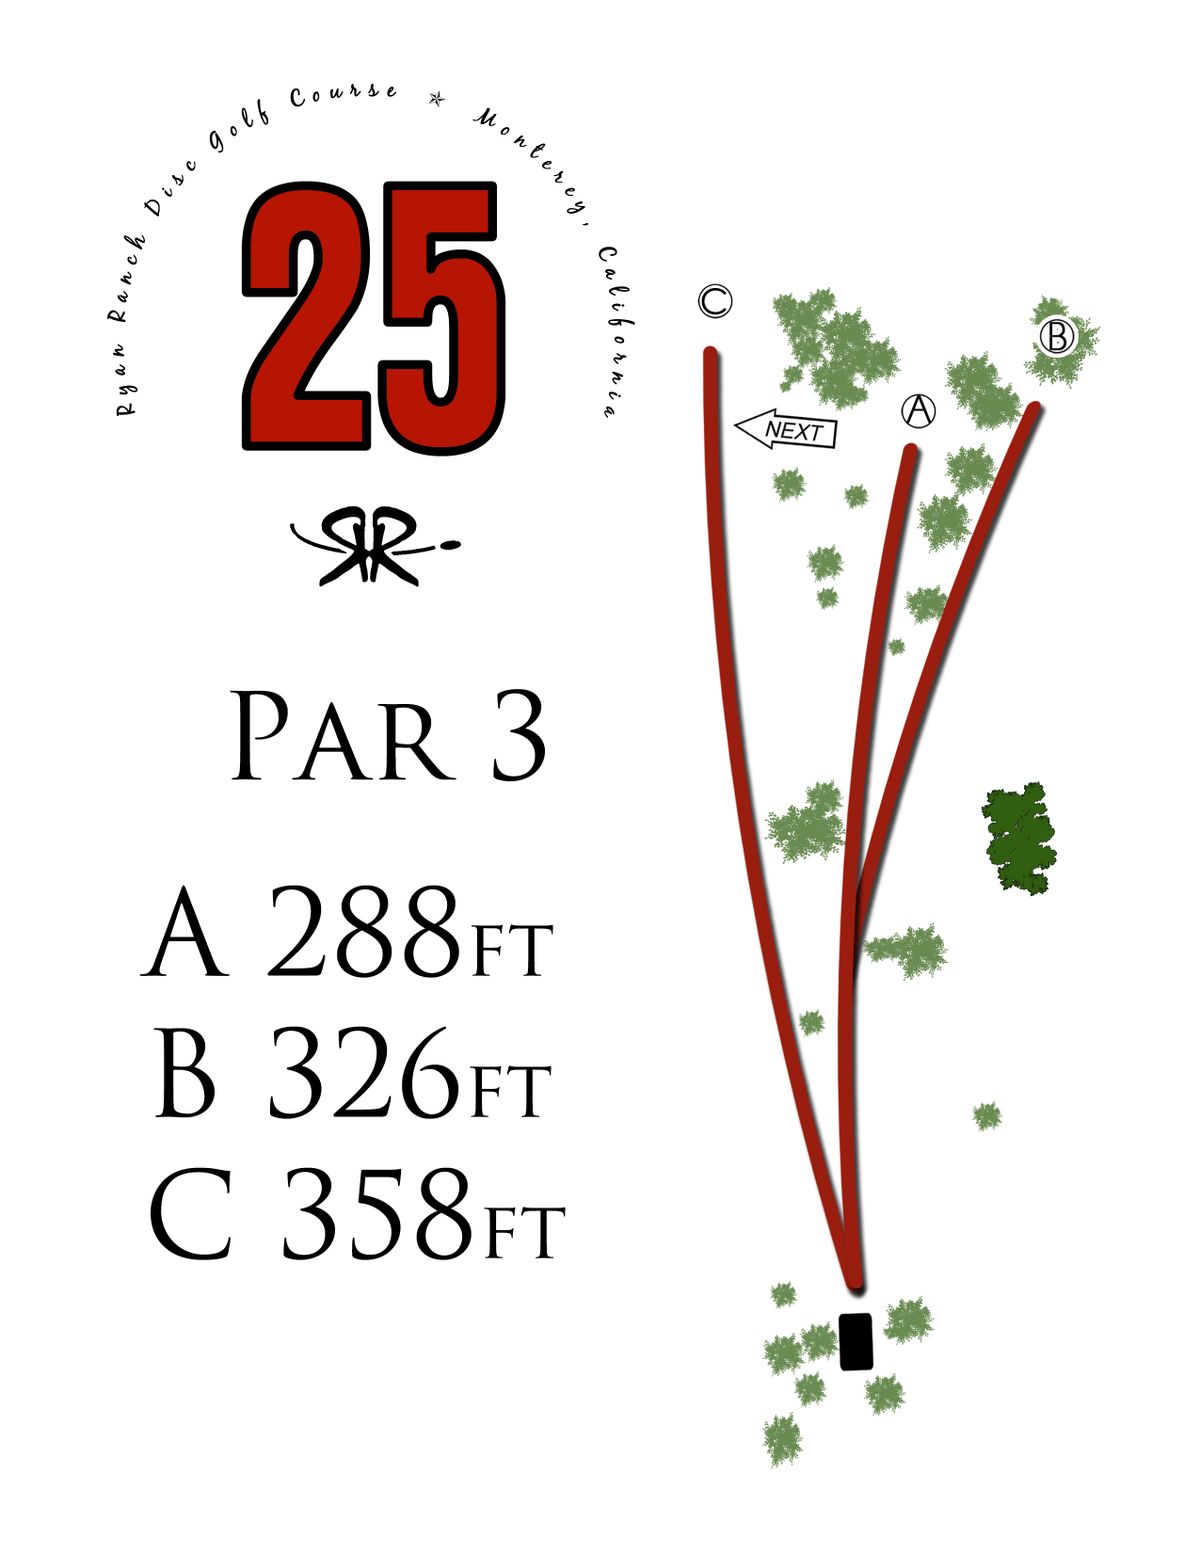
Hole 25
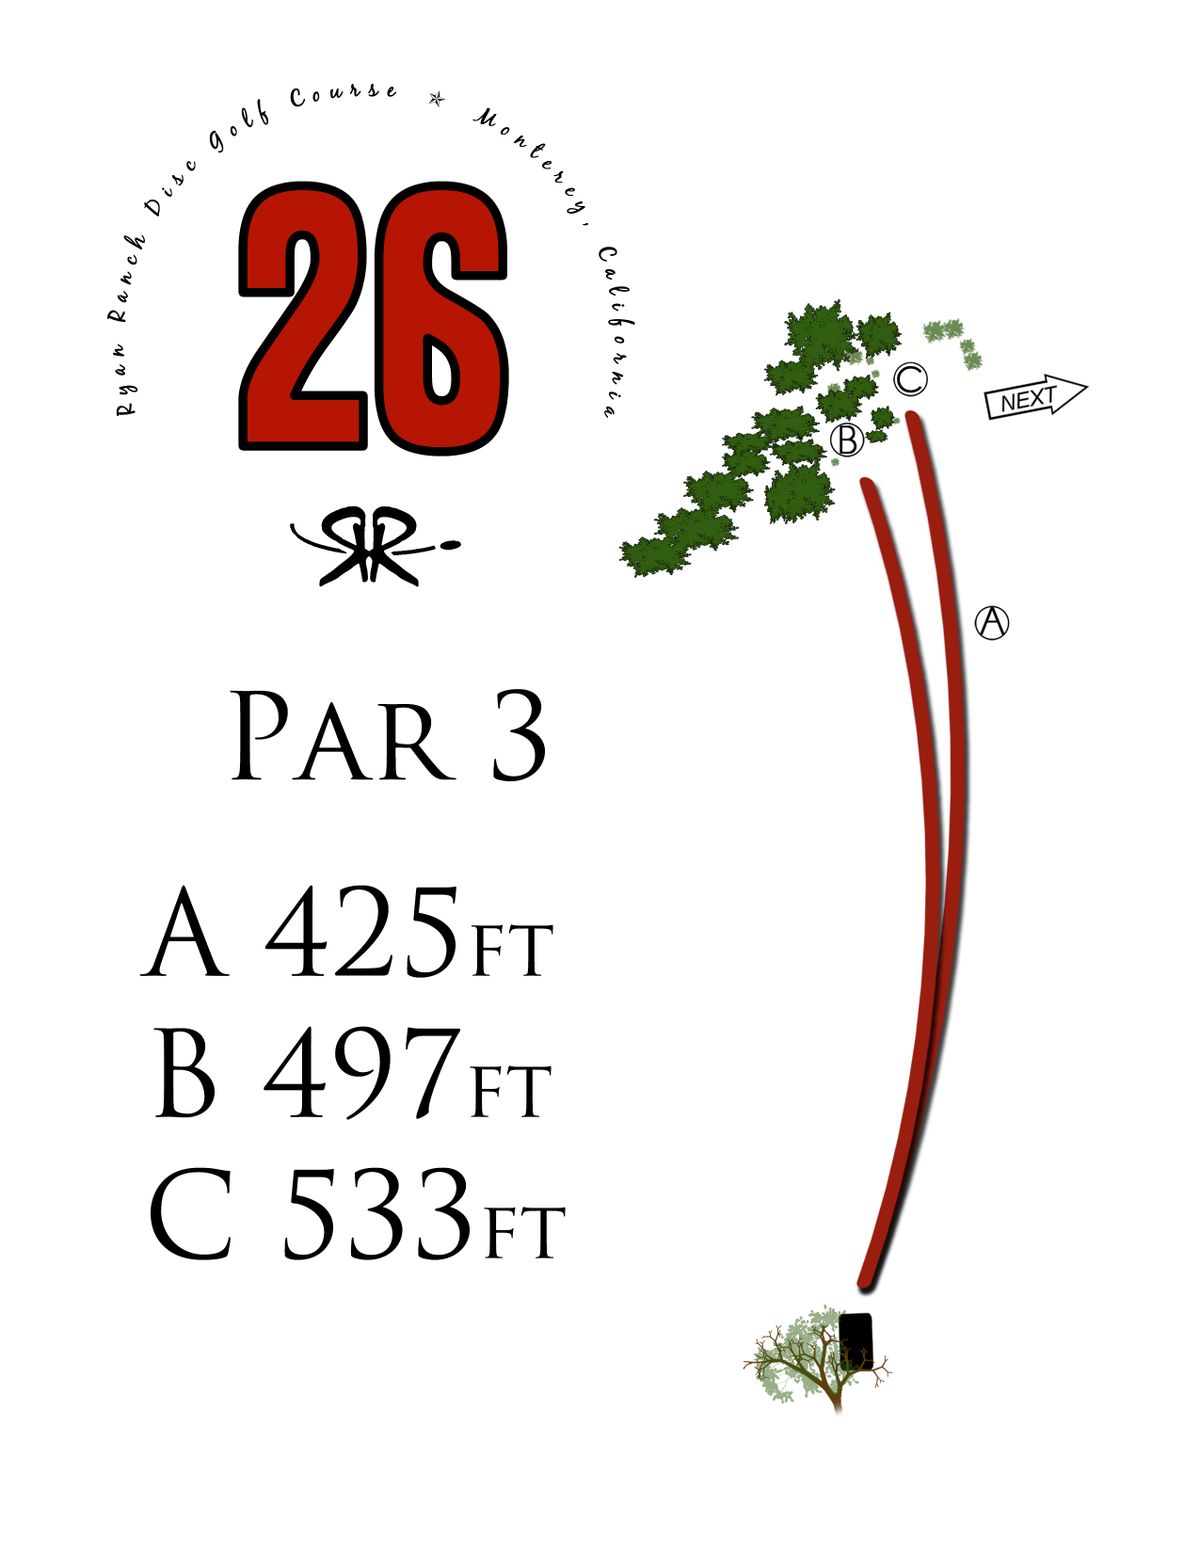
Hole 26
Hole 26A

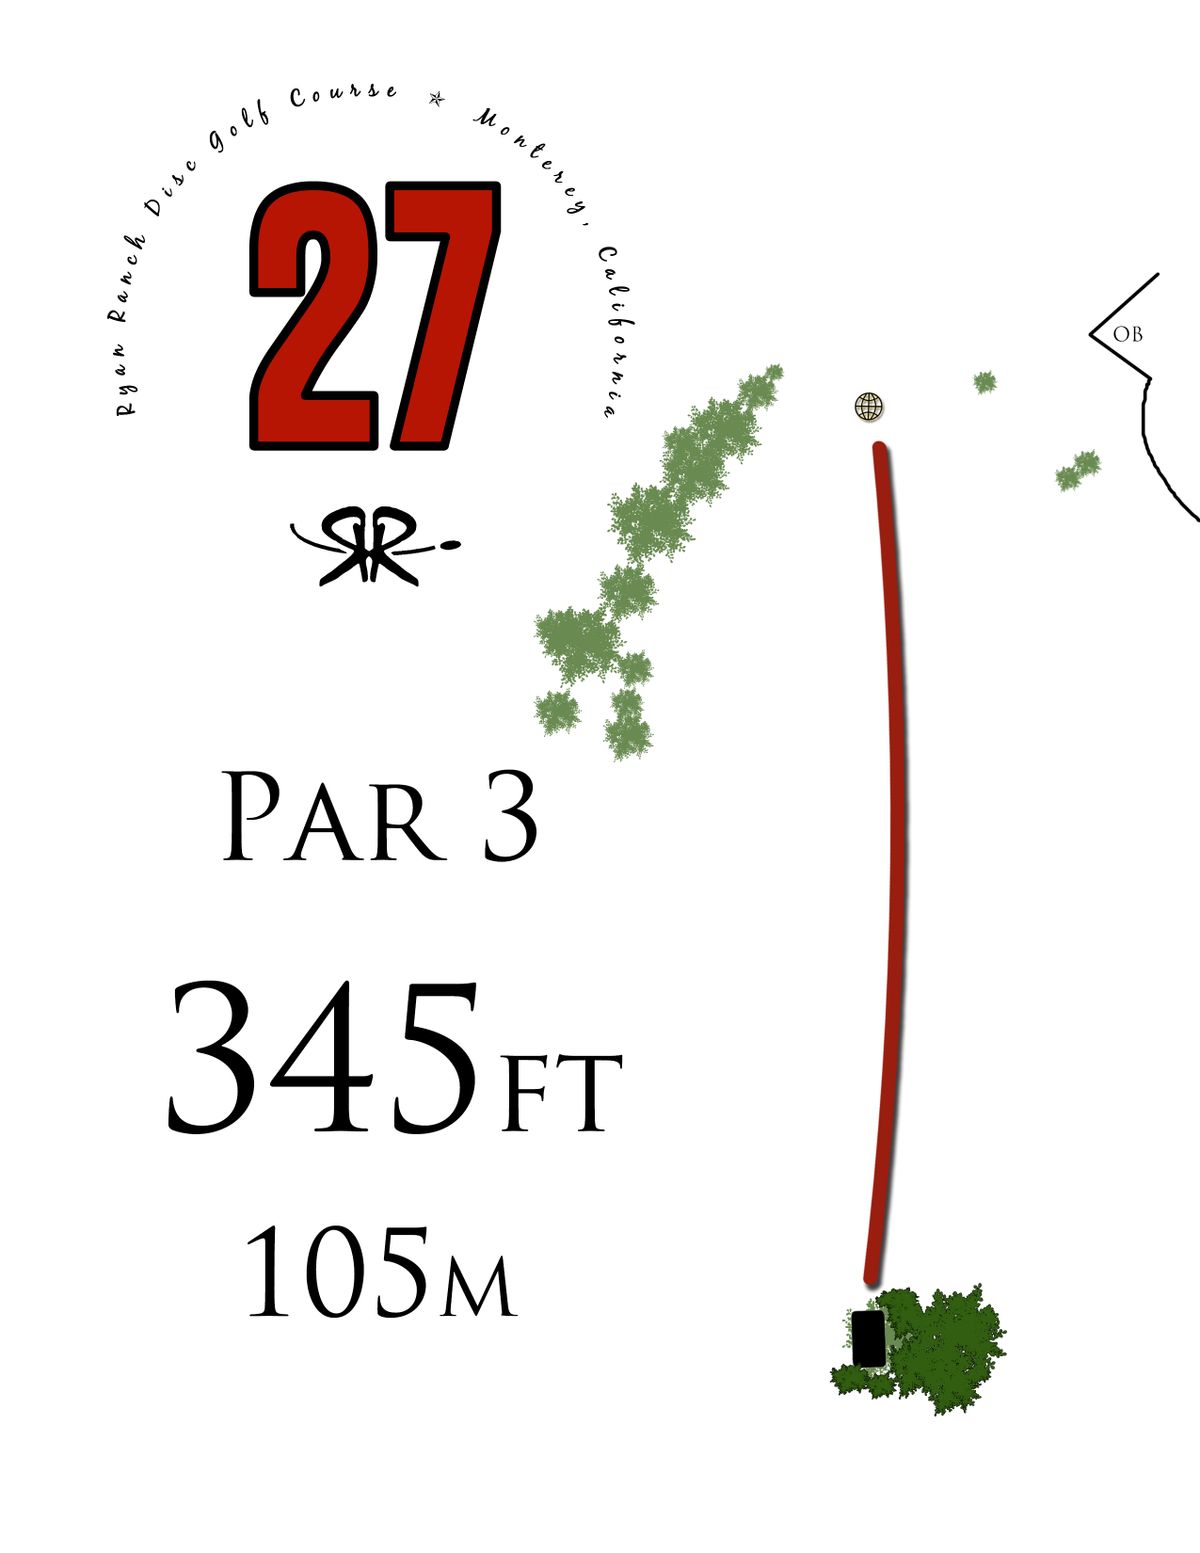
Hole 27
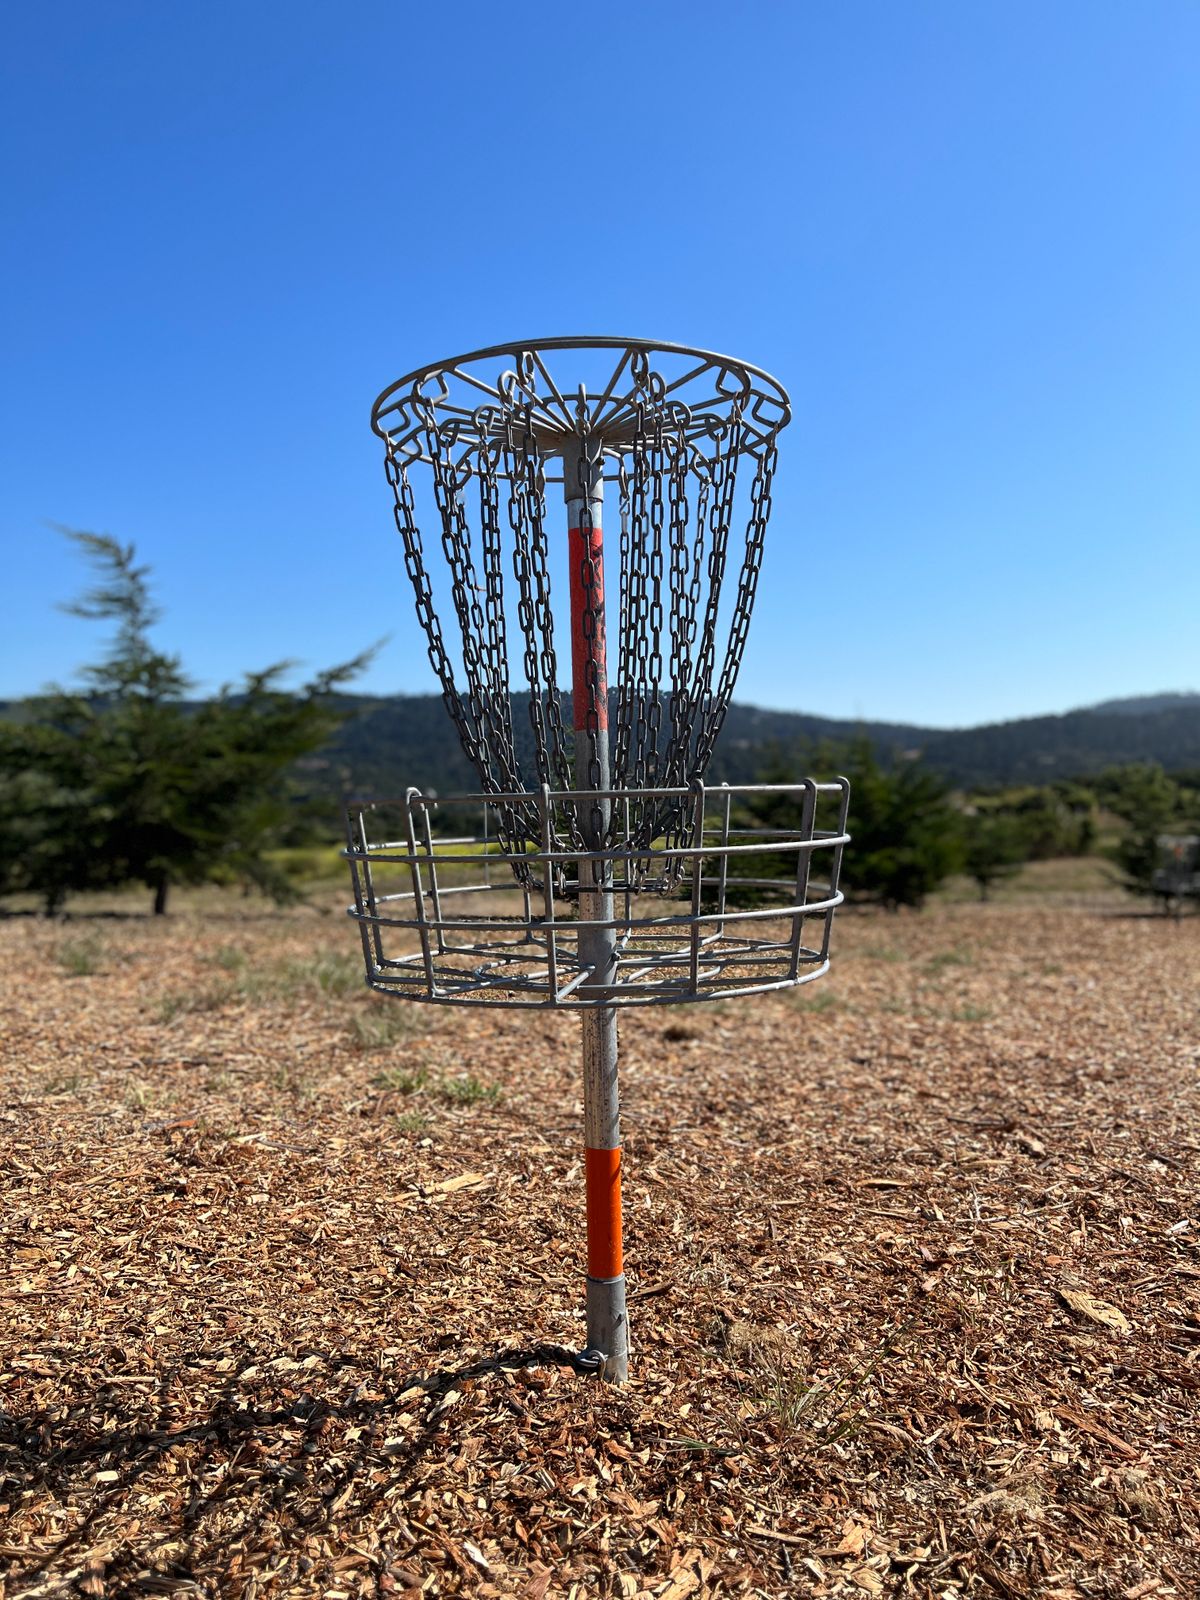
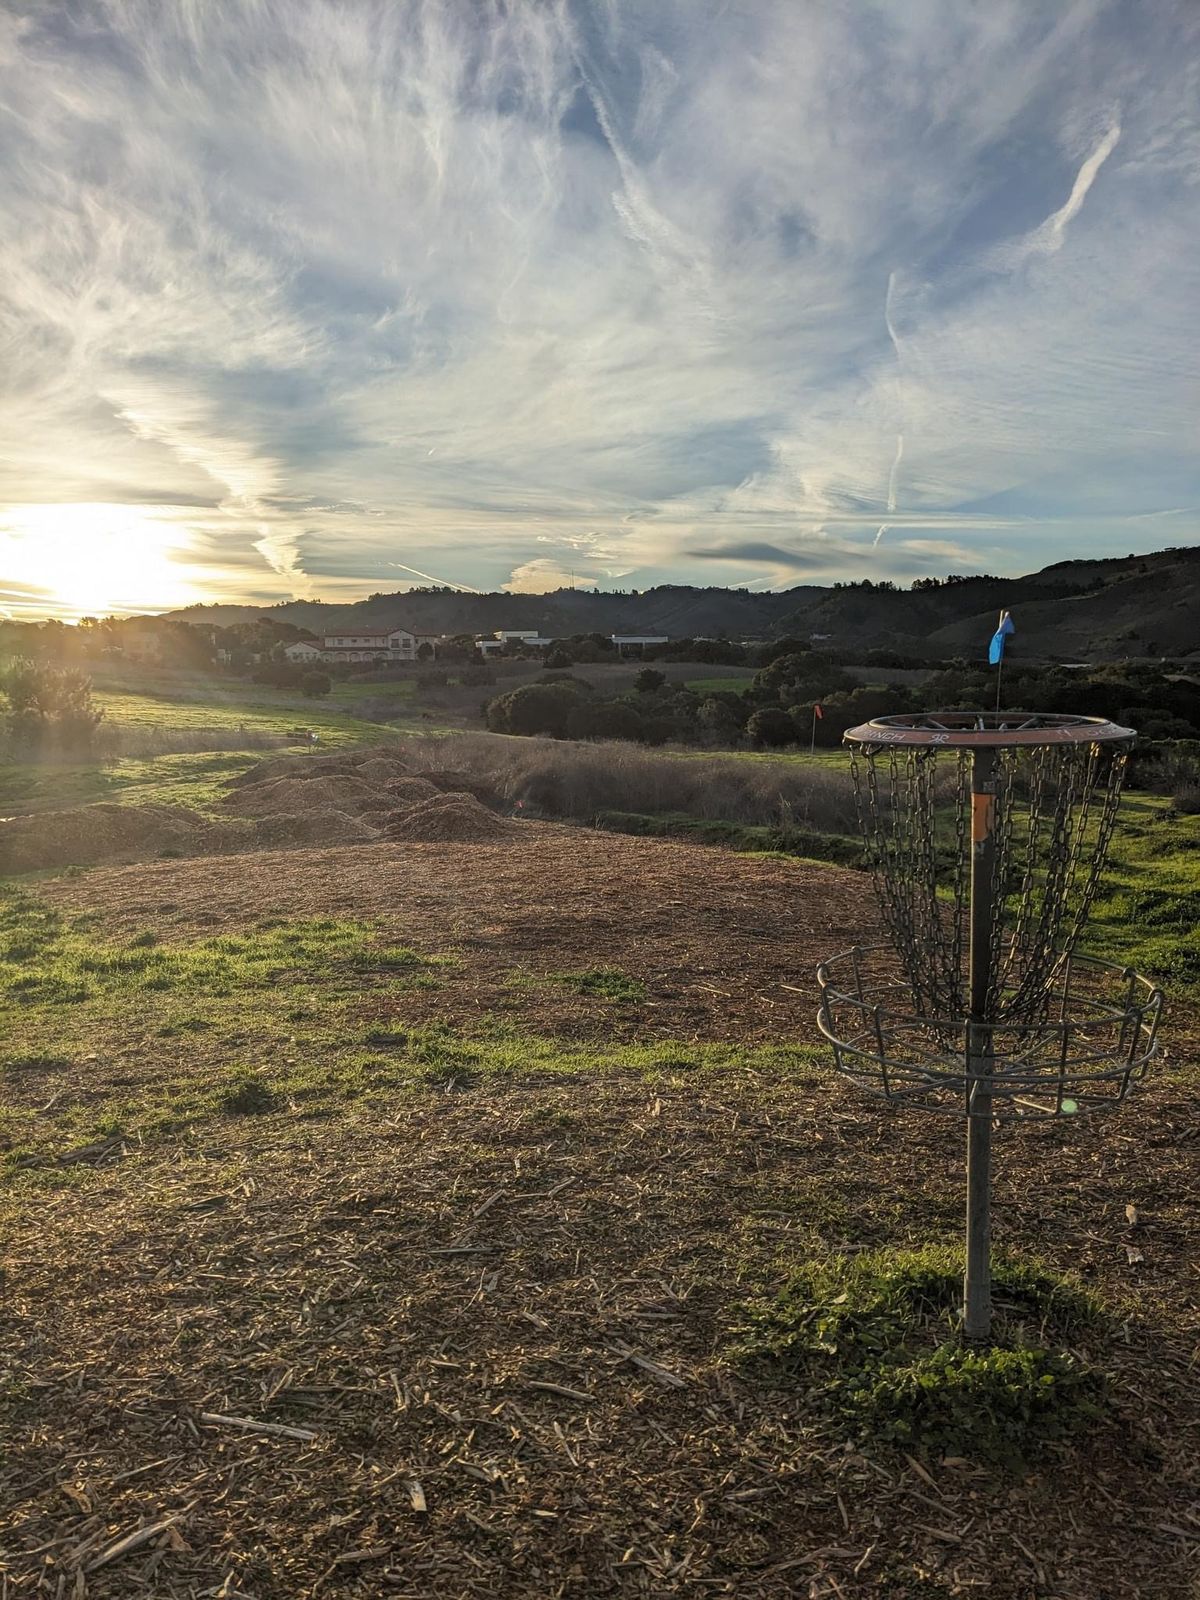
Other